


If this is your first time looking at a post from this series, have a look at this summary: Server Setup 0: Contents
After this post you’ll have a working WordPress installation to play with!
Make website unavailable from public internet
A word of warning – the first thing that will happen once we’ve installed wordpress is you’ll create an admin user. You don’t want a hacker to swoop in a beat you to it.
Reverse the steps you took to open the ports in your router.
Download and unpack
Go to the directory above your wordpress folder – mine was /var/www/wordpress, so we’ll go to /var/www
cd /var/www
Delete your wordpress directory – we’re about to recreate it:
sudo rm -R wordpress
Download wordpress
sudo wget https://wordpress.org/latest.tar.gz
Unpack – the tar.gz file is like a zip file, so we’re just unpacking it.
sudo tar xvfz latest.tar.gz
Optional step – if the folder you set up for the website wasn’t called “wordpress”, move the new folder to what it used to be called:
sudo mv wordpress other_wp_folder
Now wordpress needs to be able to modify the files inside it’s directory, so to do that we change the owner of the directory and everything in it to www-data. www-data is the user that apache runs as.
sudo chown -R www-data /var/www/wordpress/
And we’re done with the install!
Configure
Now go to your site on the client machine e.g www.example.org
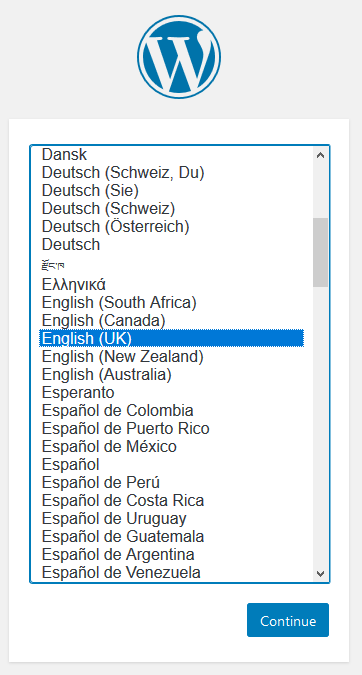
If all has gone according to plan, you’ll this page (asking for a language) or the next one.
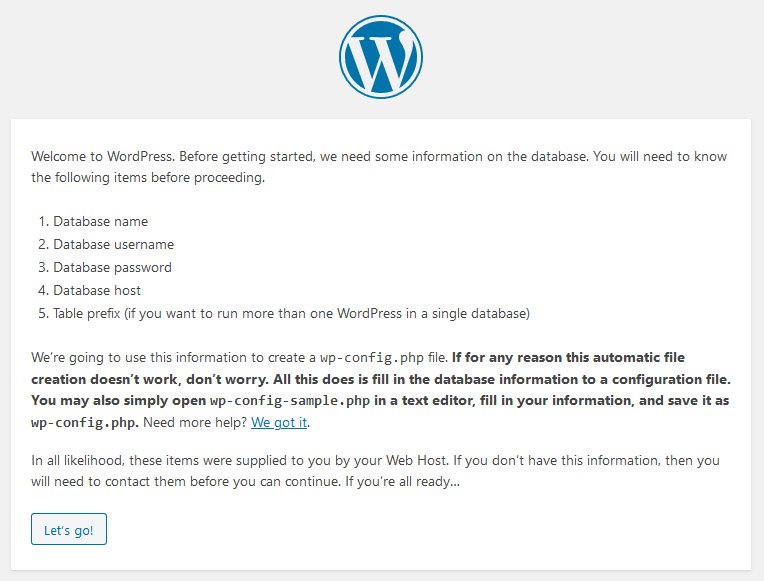
This is the intro to the configuration:
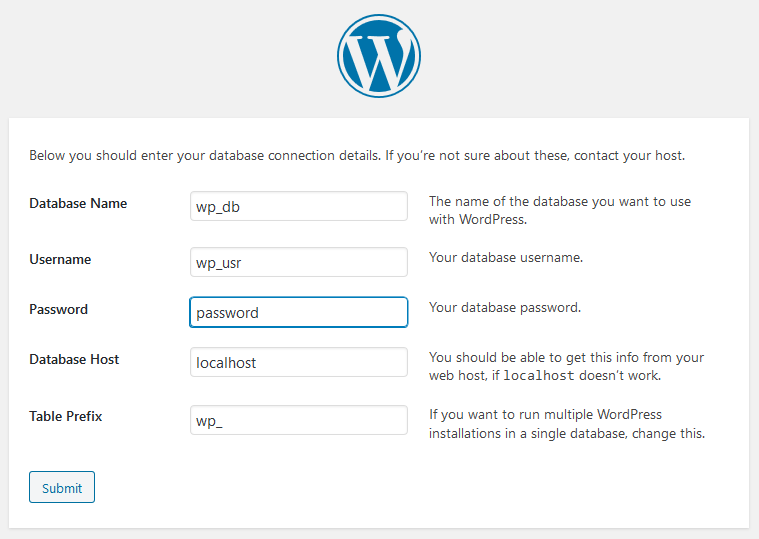
Now fill in the database details from the last post in here.
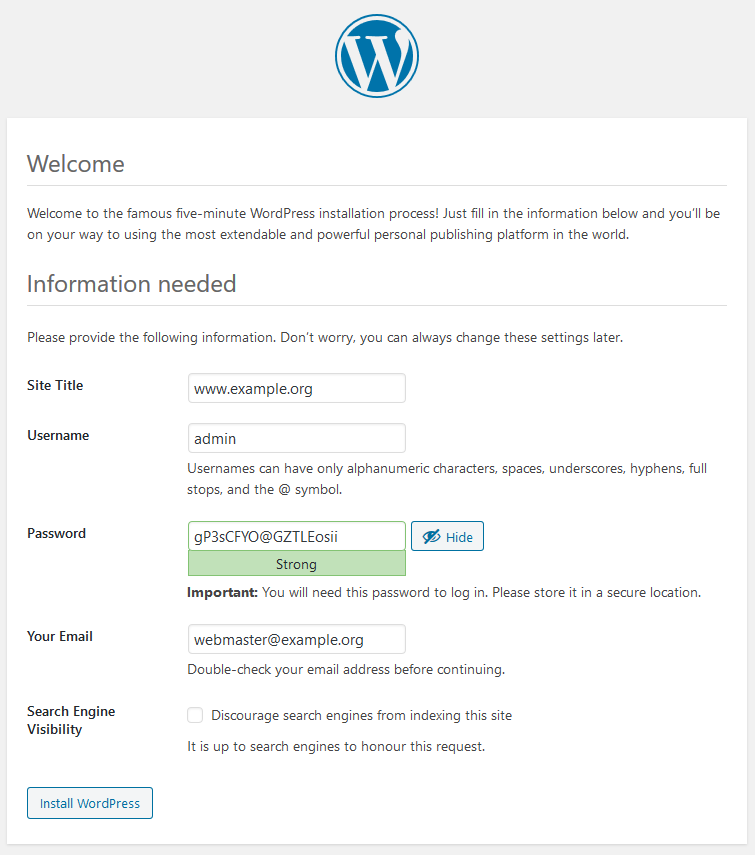
This page sets the site title (it’s doesn’t need to be the URL – it can be anything you like) and your admin account.
And that’s done!
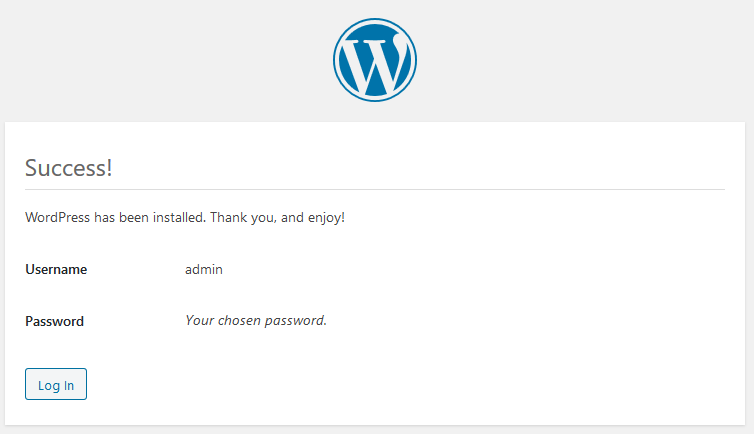
This is the admin console
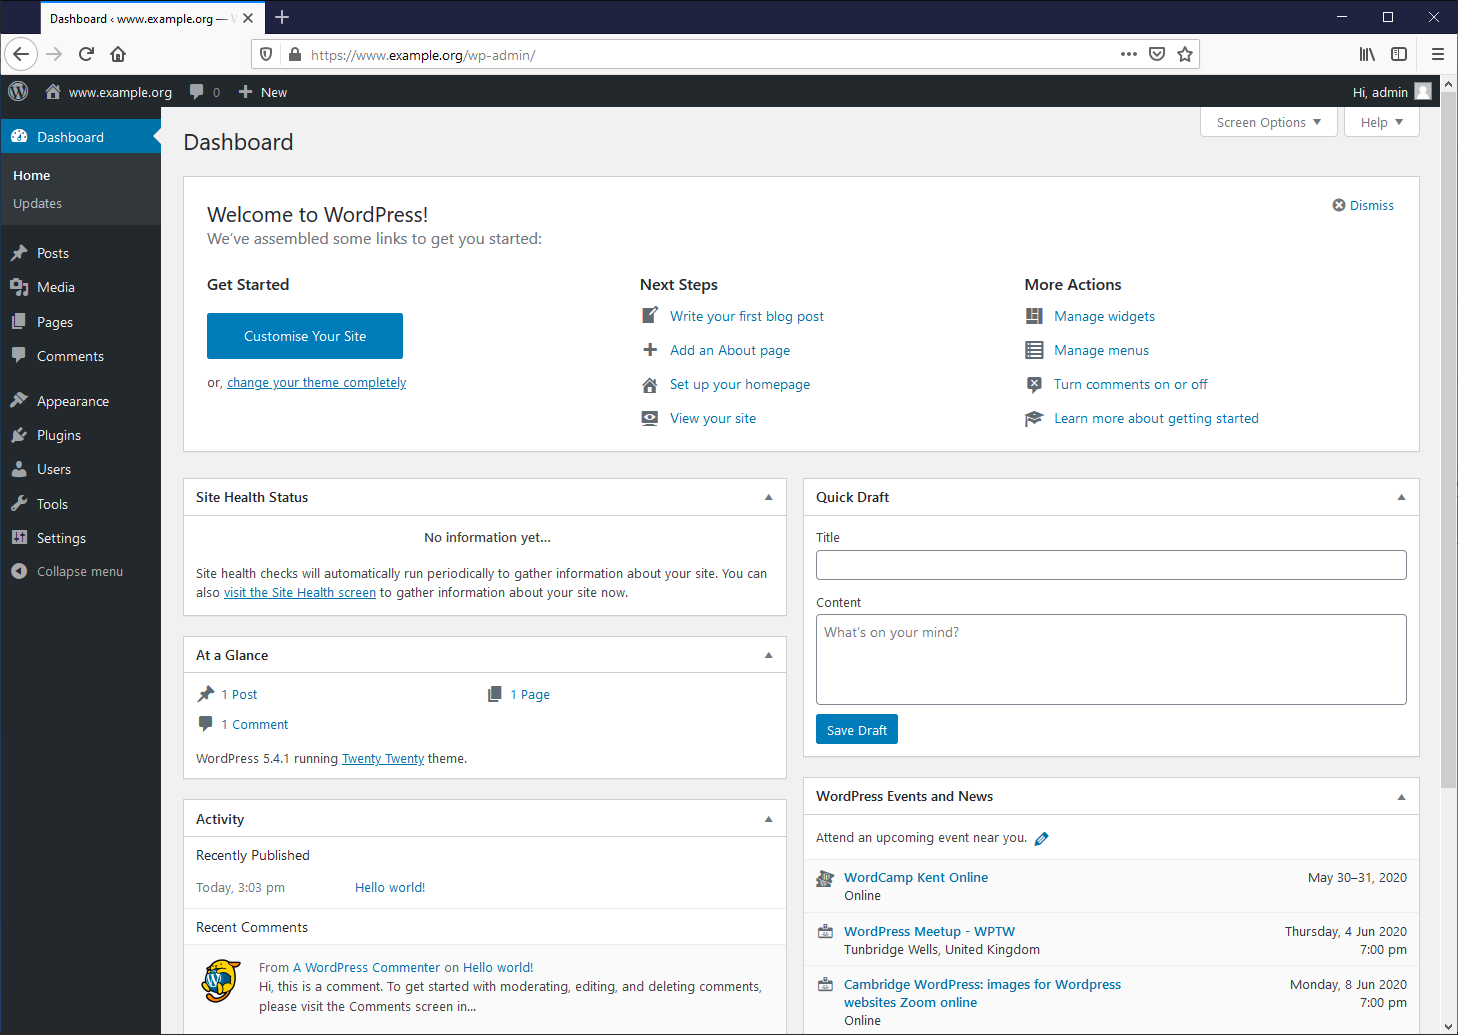
And the view of the site when you’re logged in.

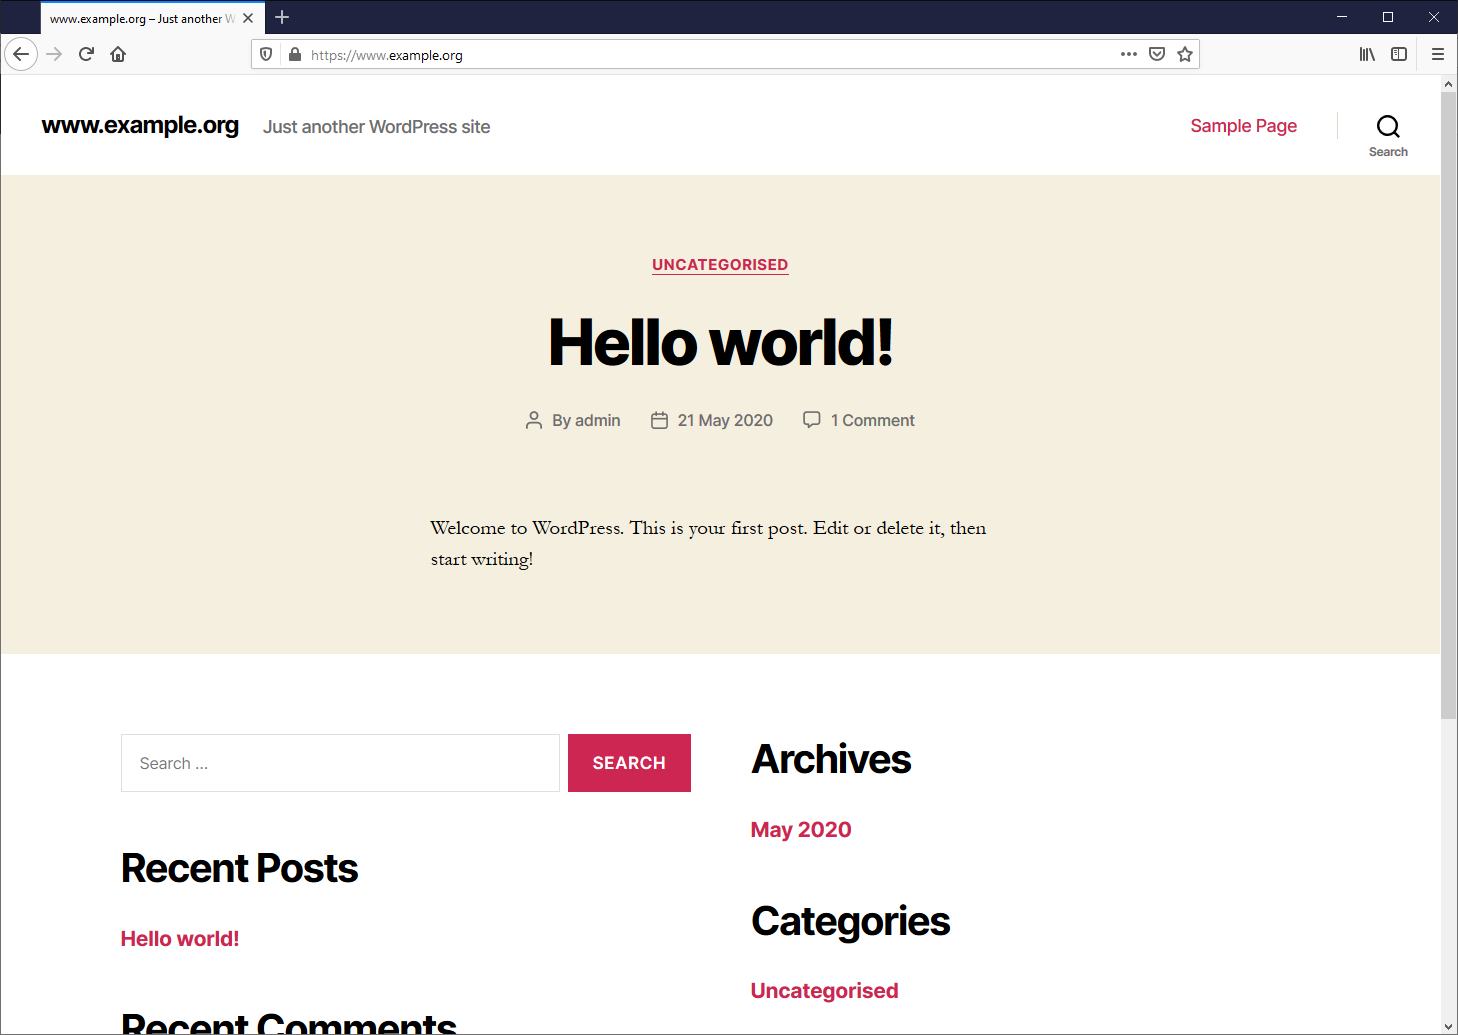
And what it looks like for ordinary visitors.
Re-enable public access
Now you can re-enable public access by configuring port forwarding on your router.