


Hi, This is the first in a series of blog posts that’ll take you through the setup of a Debain webserver running:
- WordPress for a blog like the one you’re reading now
- Nextcloud for online file storage like google drive or dropbox
- Collabora Online to make that so much more useful by allowing you to edit documents online or in the mobile app.
Today we’ll get the system installed.
For an overview of all the posts in this series, take a look a this summary: Server Setup 0: Contents
Prerequisites
- A computer to use as the server
- You can use almost anything, but you probably want to something quiet and low power. I’m using an UDOO x86, and have also sucessfully built servers from Shuttle small form-factor systems – but anything can work. The main thing is that you can leave it somewhere where it won’t be disturbed (and preferably have a hardwired connection to your internet router).
- A computer to work on – the client
- As a minimum, you’ll only need to use this temporarily to prepare the data you need. However, there’s some work to do after installation, and it’s better to use a computer with a good screen and keyboard, which you can use while sitting comfortably.
- Admin access to your router.
- We’ll be making some small changes to the configuration of your home router to allow the server to work properly. Make sure you have the passwords (and permission!) to do this.
- A domain name. (No rush if you haven’t got one yet, I’ll talk about it a bit more in a later post).
- A large (>4gb), empty USB stick. This process will destroy all of the data on it.
- An internet connection that allows incoming traffic on ports 80 and 443. I’ll discuss this first
Internet Connection
You can’t host a normal, public website if your Internet Service Provider (ISP) doesn’t allow you to. Fortunately, many do allow it. To find out you’ll need to ask your ISP – good ISPs will have this information easily available, usually in the “Help” or “Support” sections of their website, possibly under information about firewall. They might say:
- “You can host a website using HTTP or HTTPS”.
- “No incoming traffic is blocked”
- “Incoming traffic on Ports 80 and 443 is allowed”
All of these are explicit confimation that you’re good to go. If you see information along the lines of “How to set up port forwarding on your router” that’s also a good sign.
We’ll test this later, once the server is working, but for now, all you can do is ask you ISP what their policy is.
Prep
Download the Debian 10 DVDs from here:
https://www.debian.org/CD/
You probably want the DVD images, but you’ll only need the first DVD. Pick architecture carefully – modern PCs or Macs with a 64-bit CPU need the amd64 version. Older PCs with only a 32 bit processor need the i386 version. Very old Macs (older than 2006) might need the ppc64el version, but if it’s a G4 or older, you’re out of luck and will need to find an diffierent linux distribution. Arm-based maker boards (like the Raspberry Pi), and some other devices use the arm64 architecture. To find out which, google the model of the processor in your server. You should know already if you need something other than those 4!
You’ll also need some software to transfer the DVD image onto the USB stick. On windows, download Rufus. There are plenty of options for other operating systems, just search for “create bootable USB from ISO”.
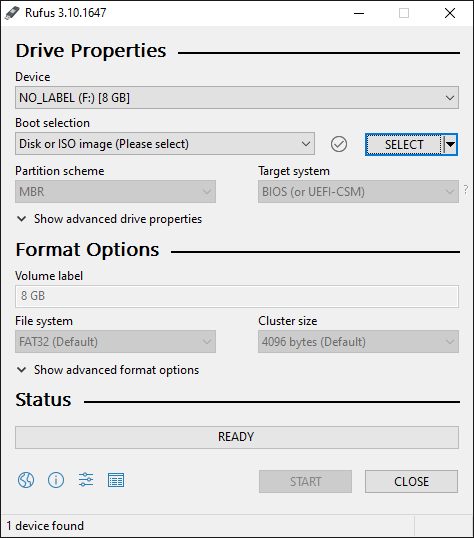
Insert your USB stick, and pick it from the drop down Device list.
Click on SELECT and choose the .iso you downloaded.
The rest of the shouldn’t need changing from the defaults, so hit START
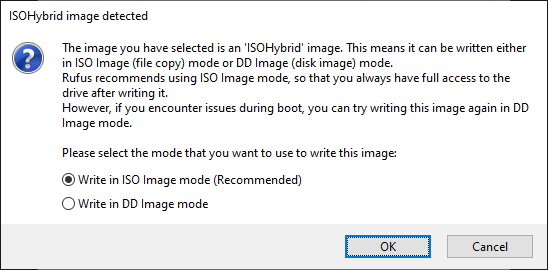
If it asks you about which mode to use, choose Write in ISO Image mode.
This will take a while, so go grab a drink!
Set up your server with power, monitor and keyboard and a wired network connection to your router.
Install
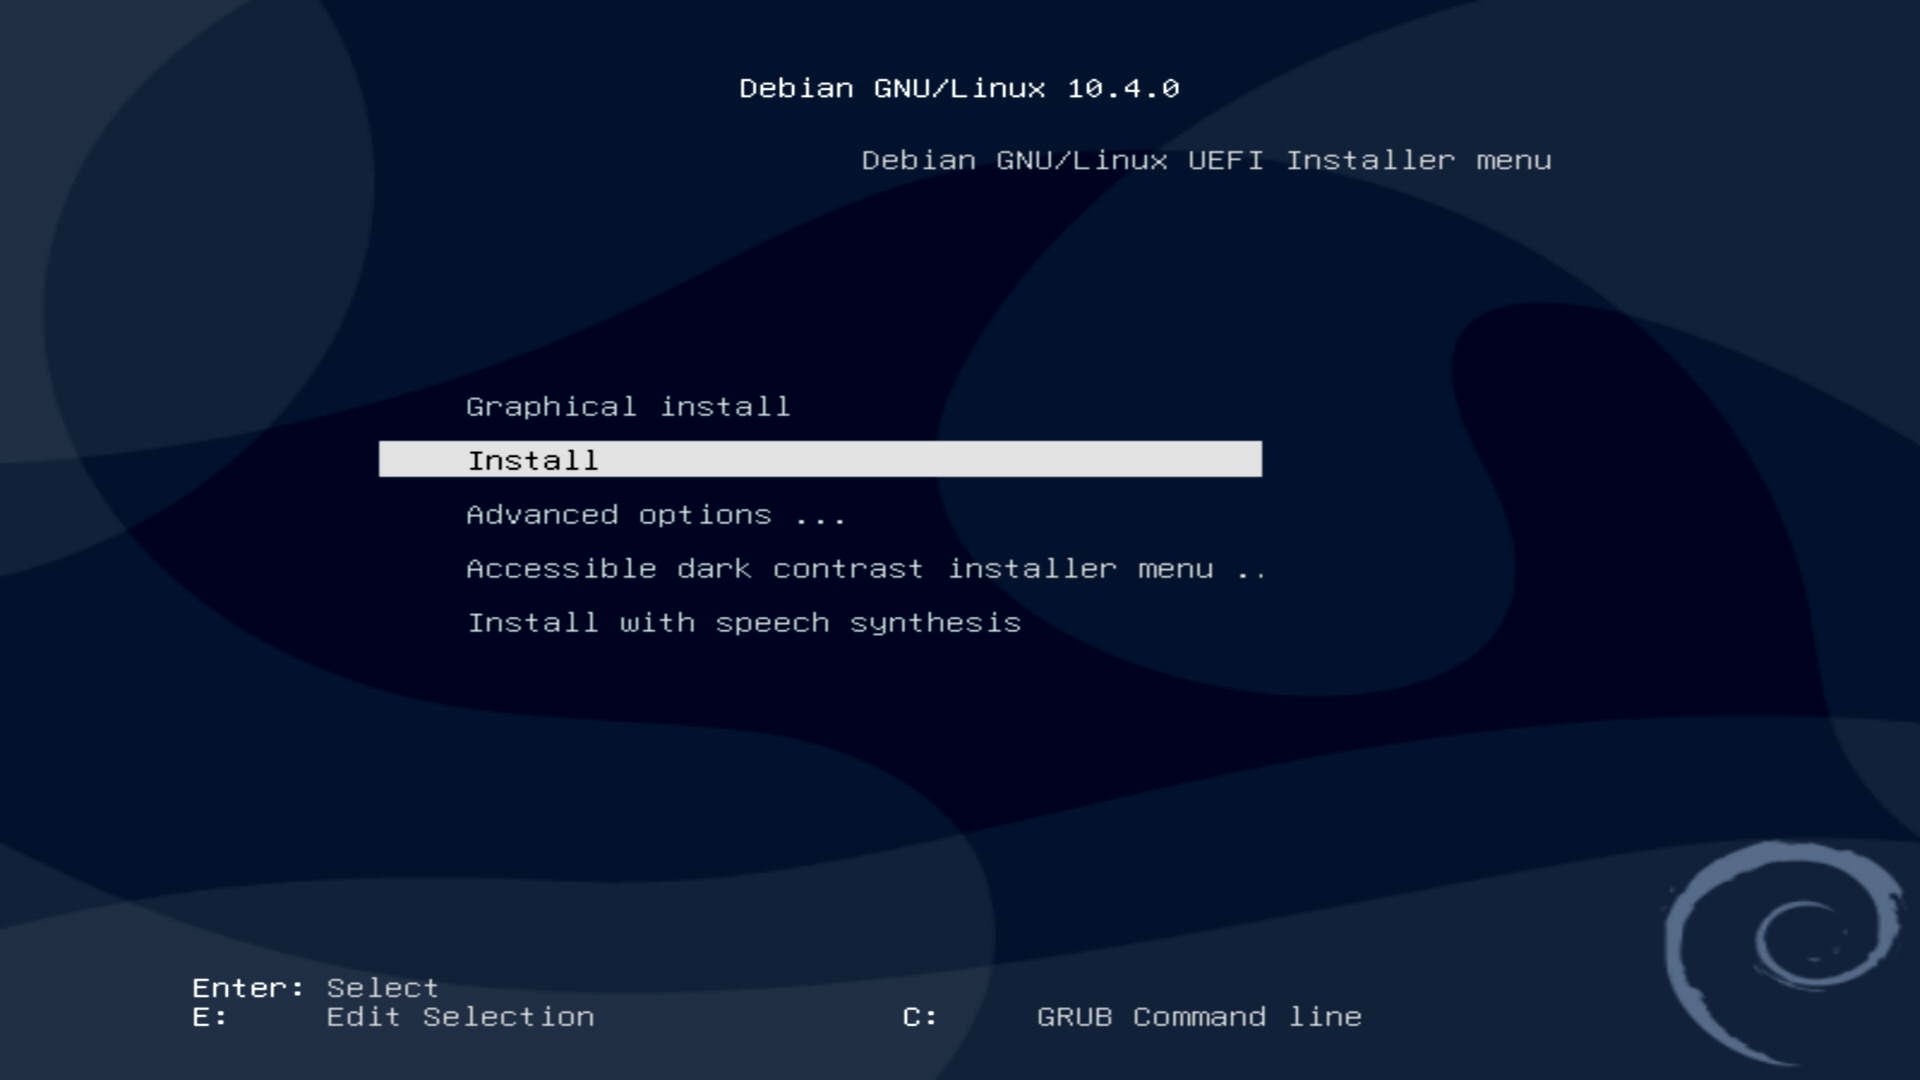
You’ll need to consult the documentation for your server to figure out how to get it to boot from the USB stick you just created. Usually this means pressing a key just as the machine starts (try Esc, F1, F2, F12, Enter) and then looking for an option to do with boot sequence or boot order.
Assuming you got that step sorted, you should now be at the Installer Menu

I won’t go through every step, because most of it’s pretty self explanatory.
Initial setup – launguage, locale, keyboard, and creating a root password and your own user account.
Installer welcome screen 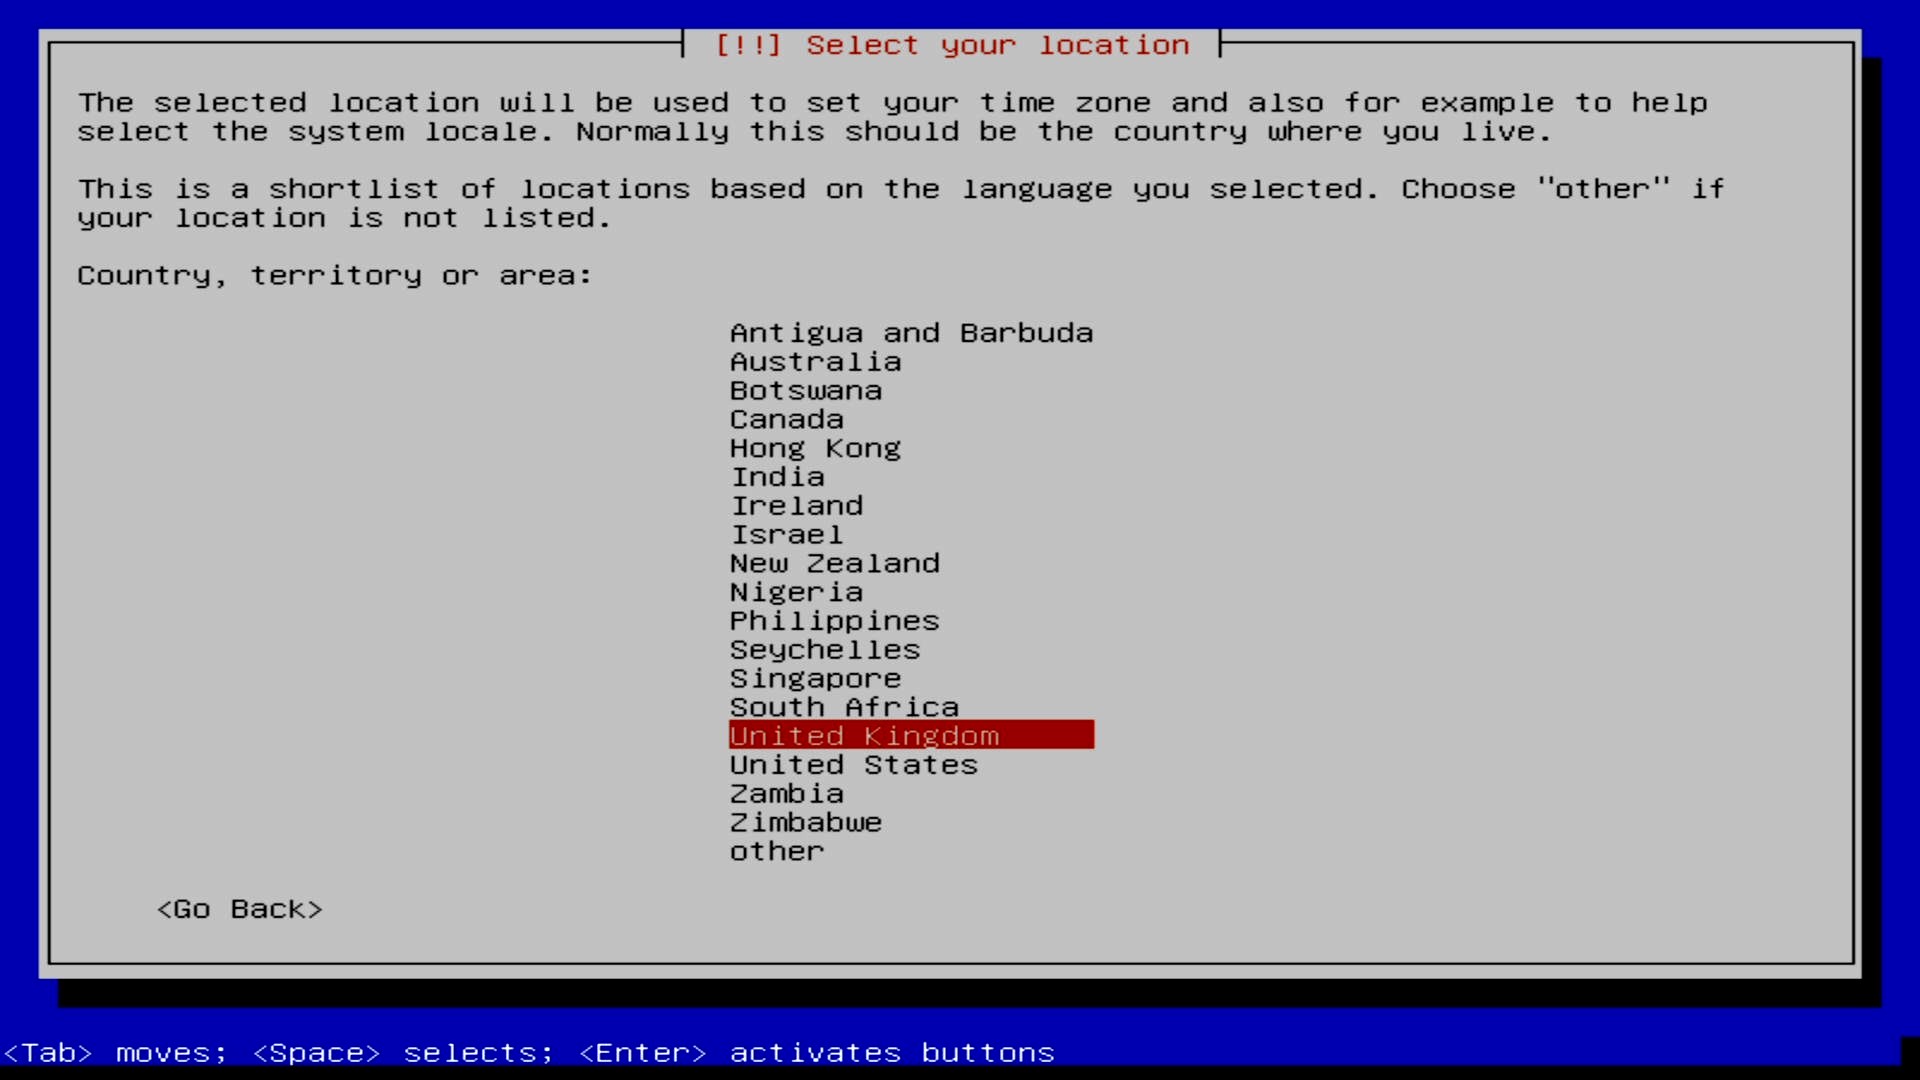
Choose Locale (how things like time & date and currency are displayed) 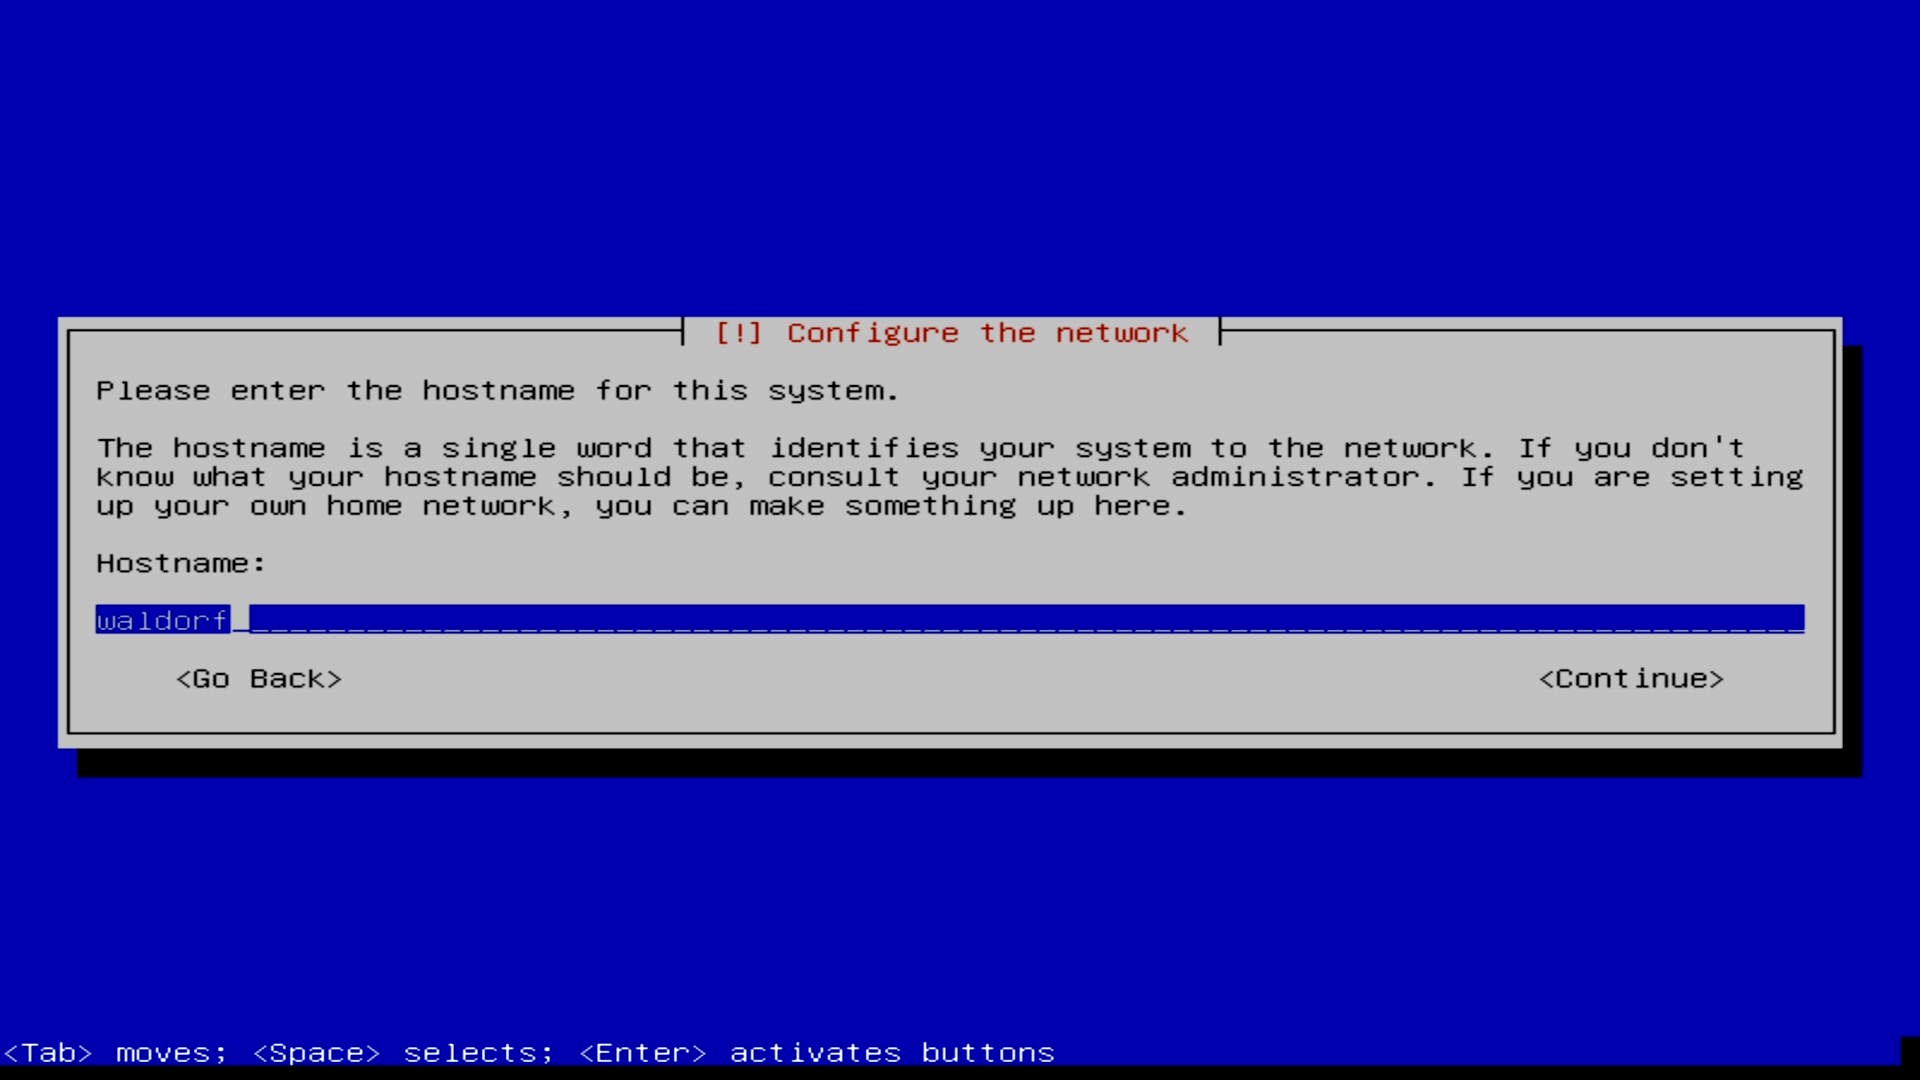
Choose hostname – this is important 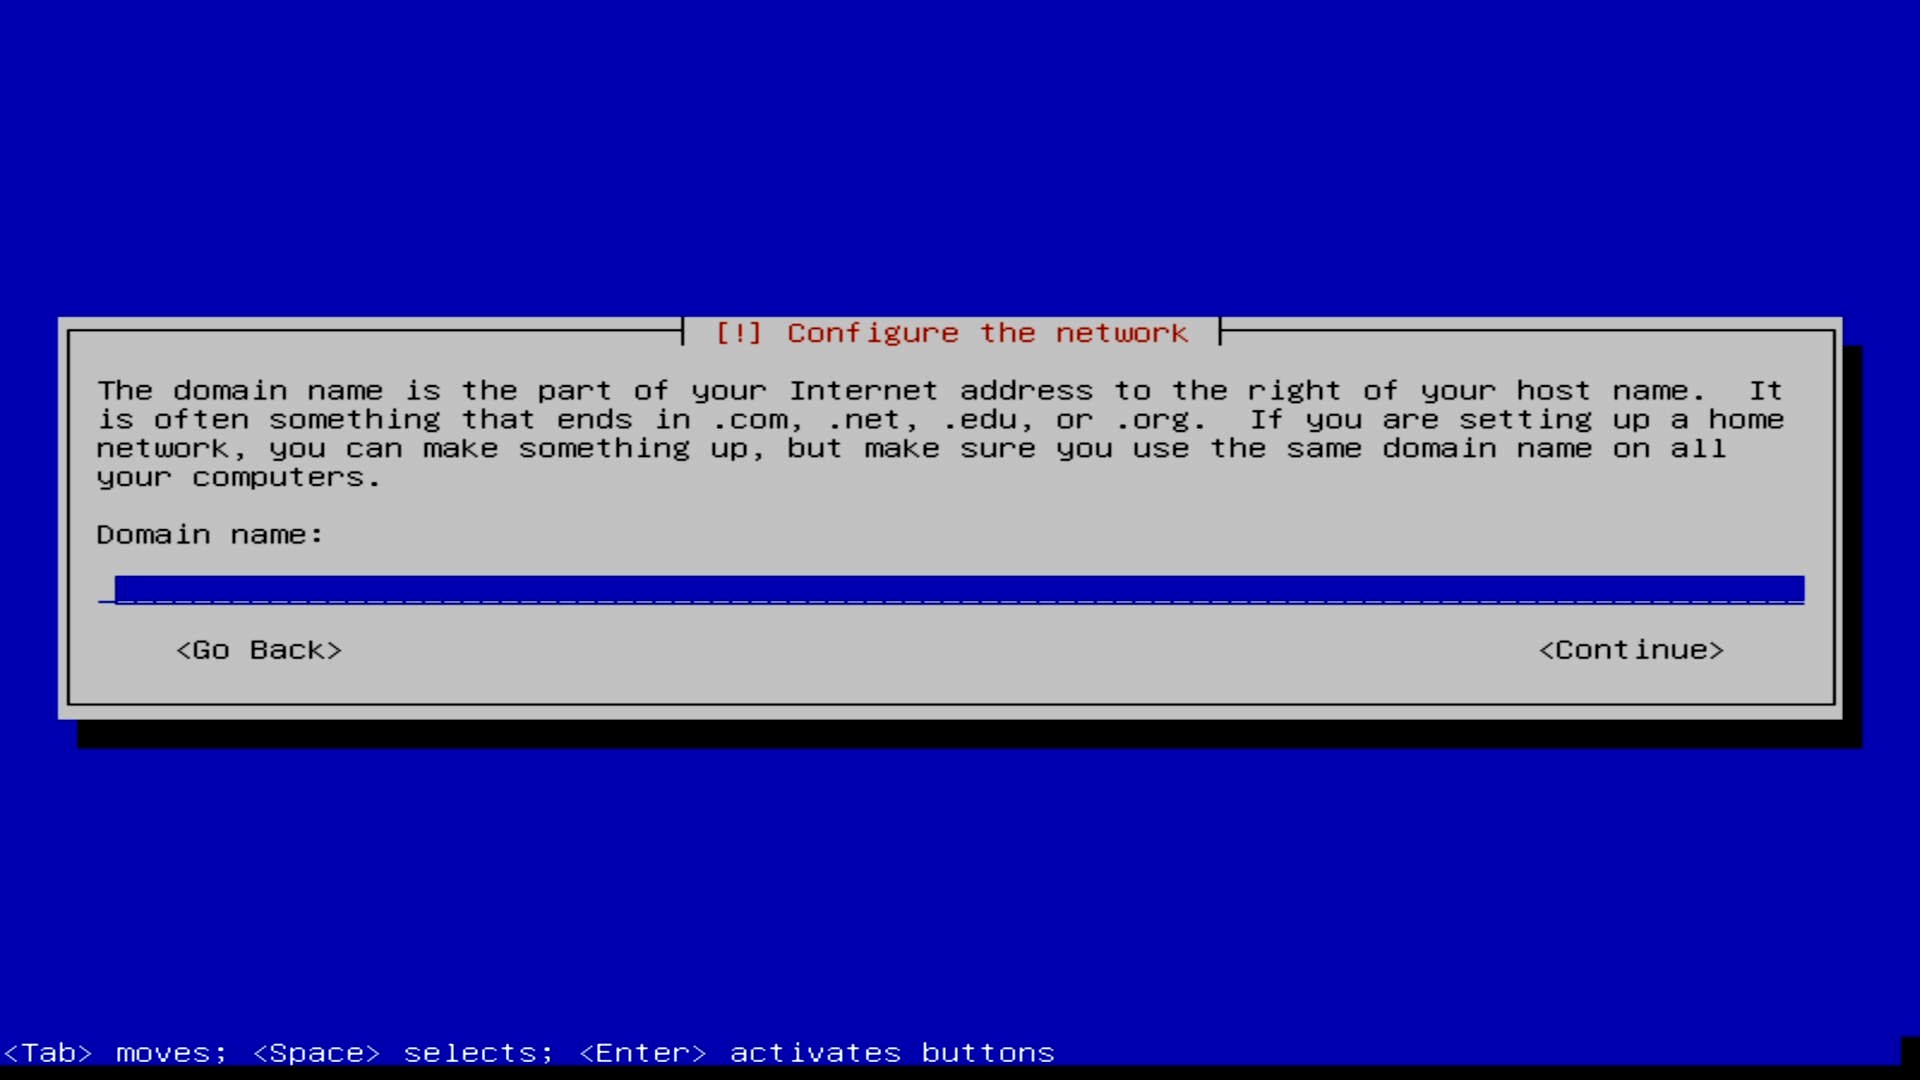
Domain name – you can leave this blank 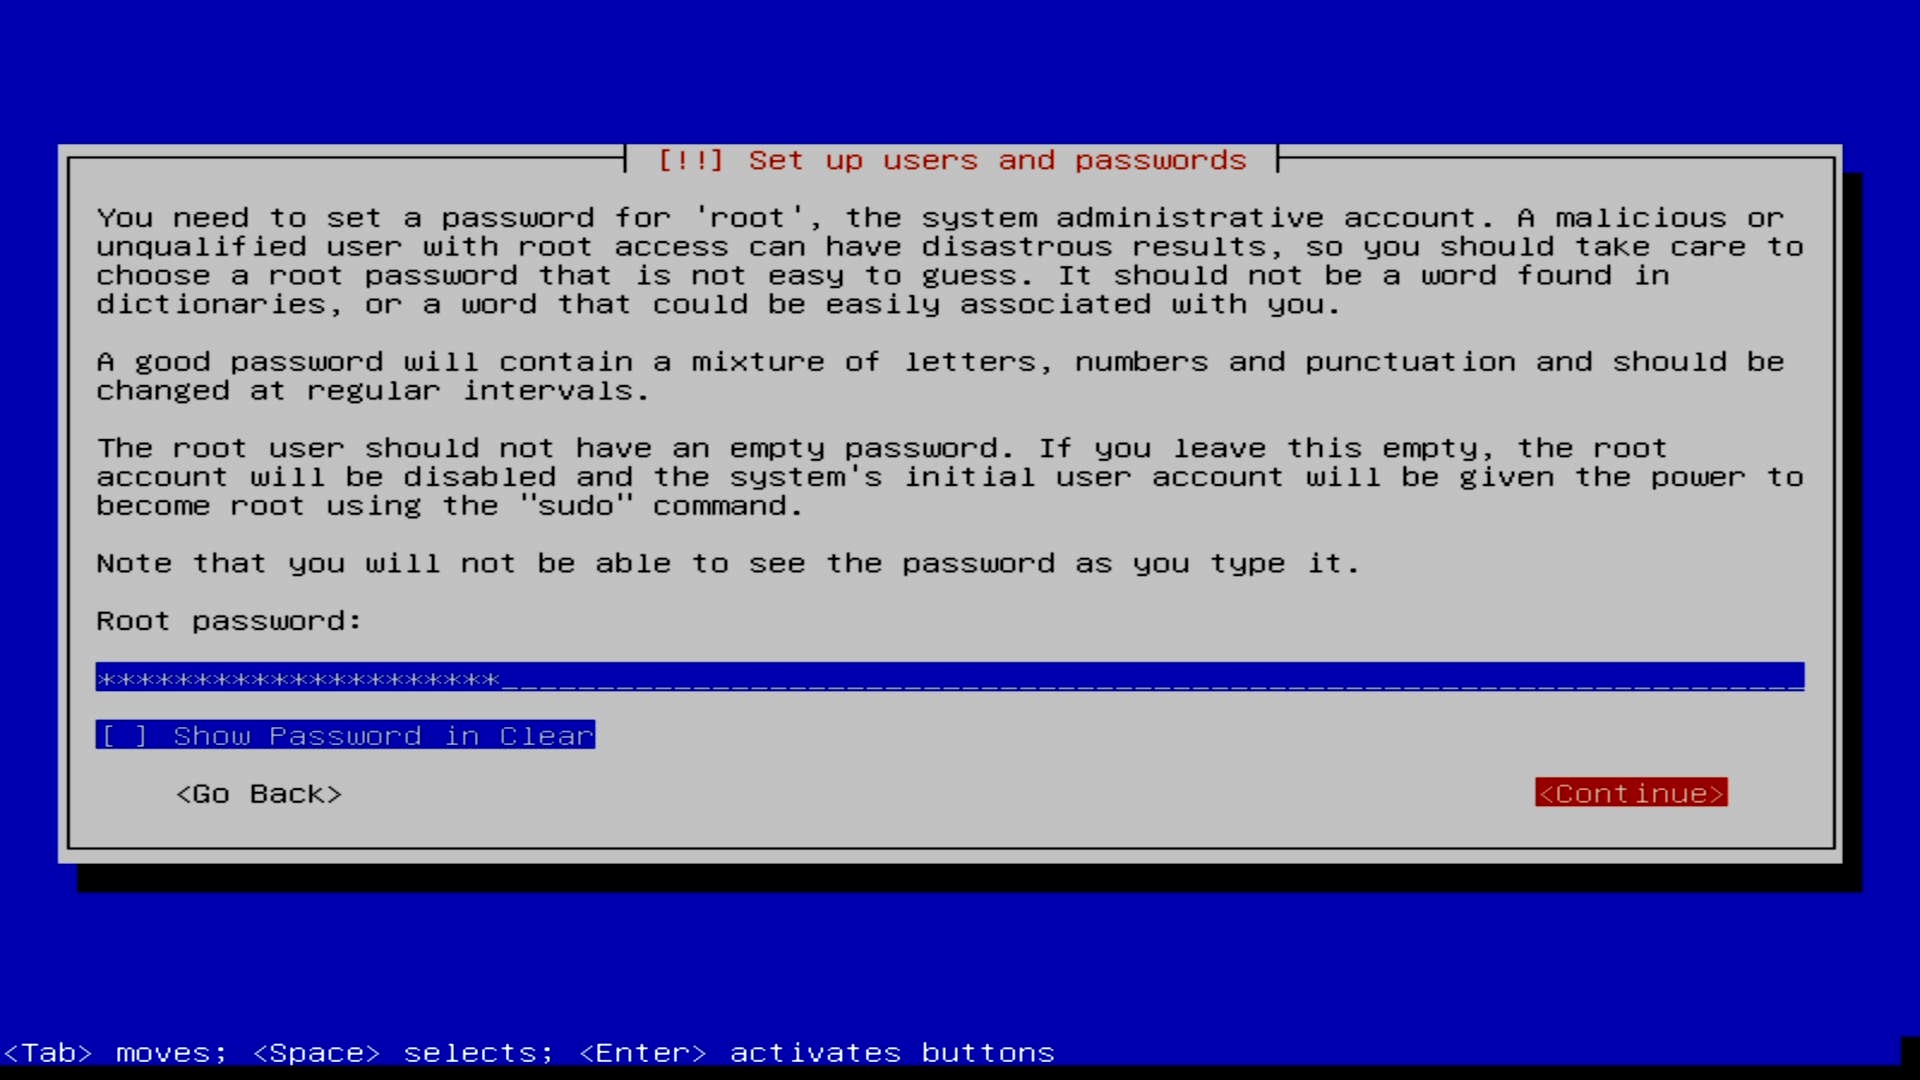
Create root password – make this strong, you won’t need to use it often 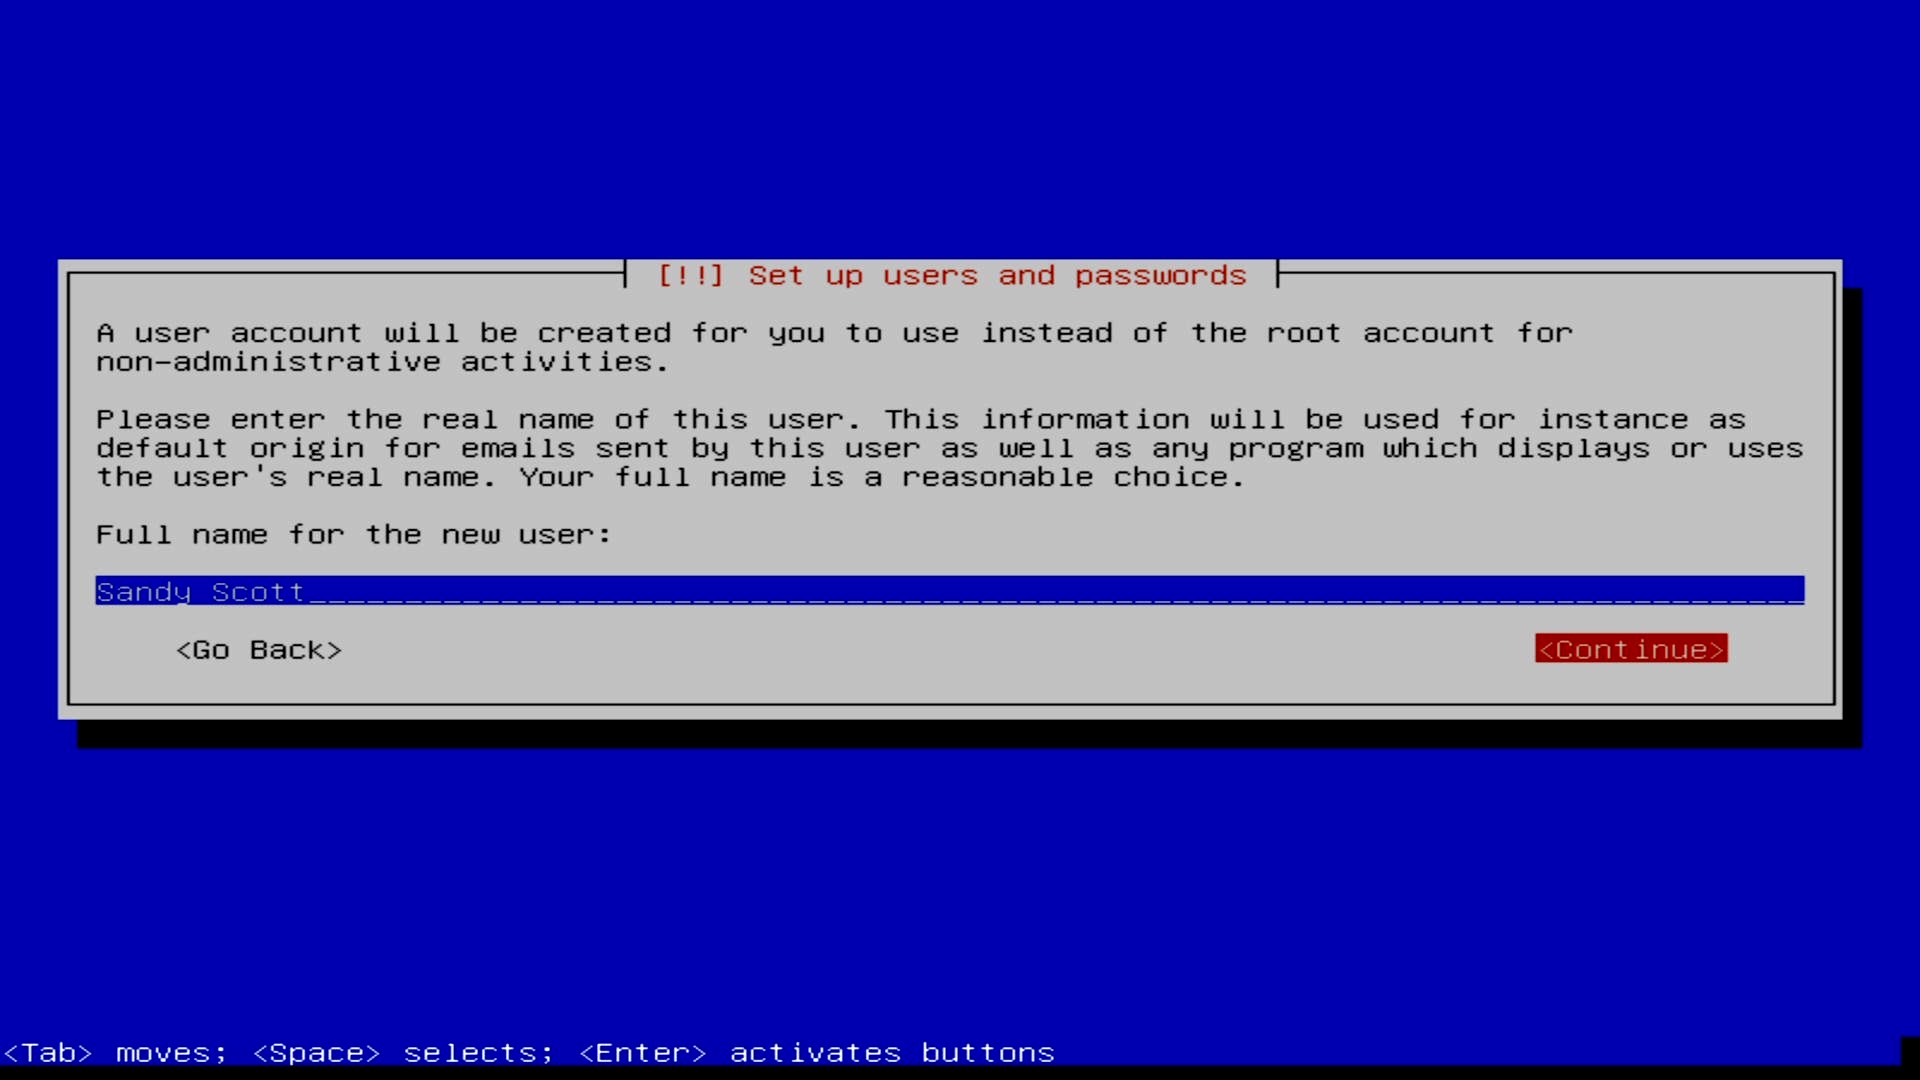
Now you’ll create your own account… 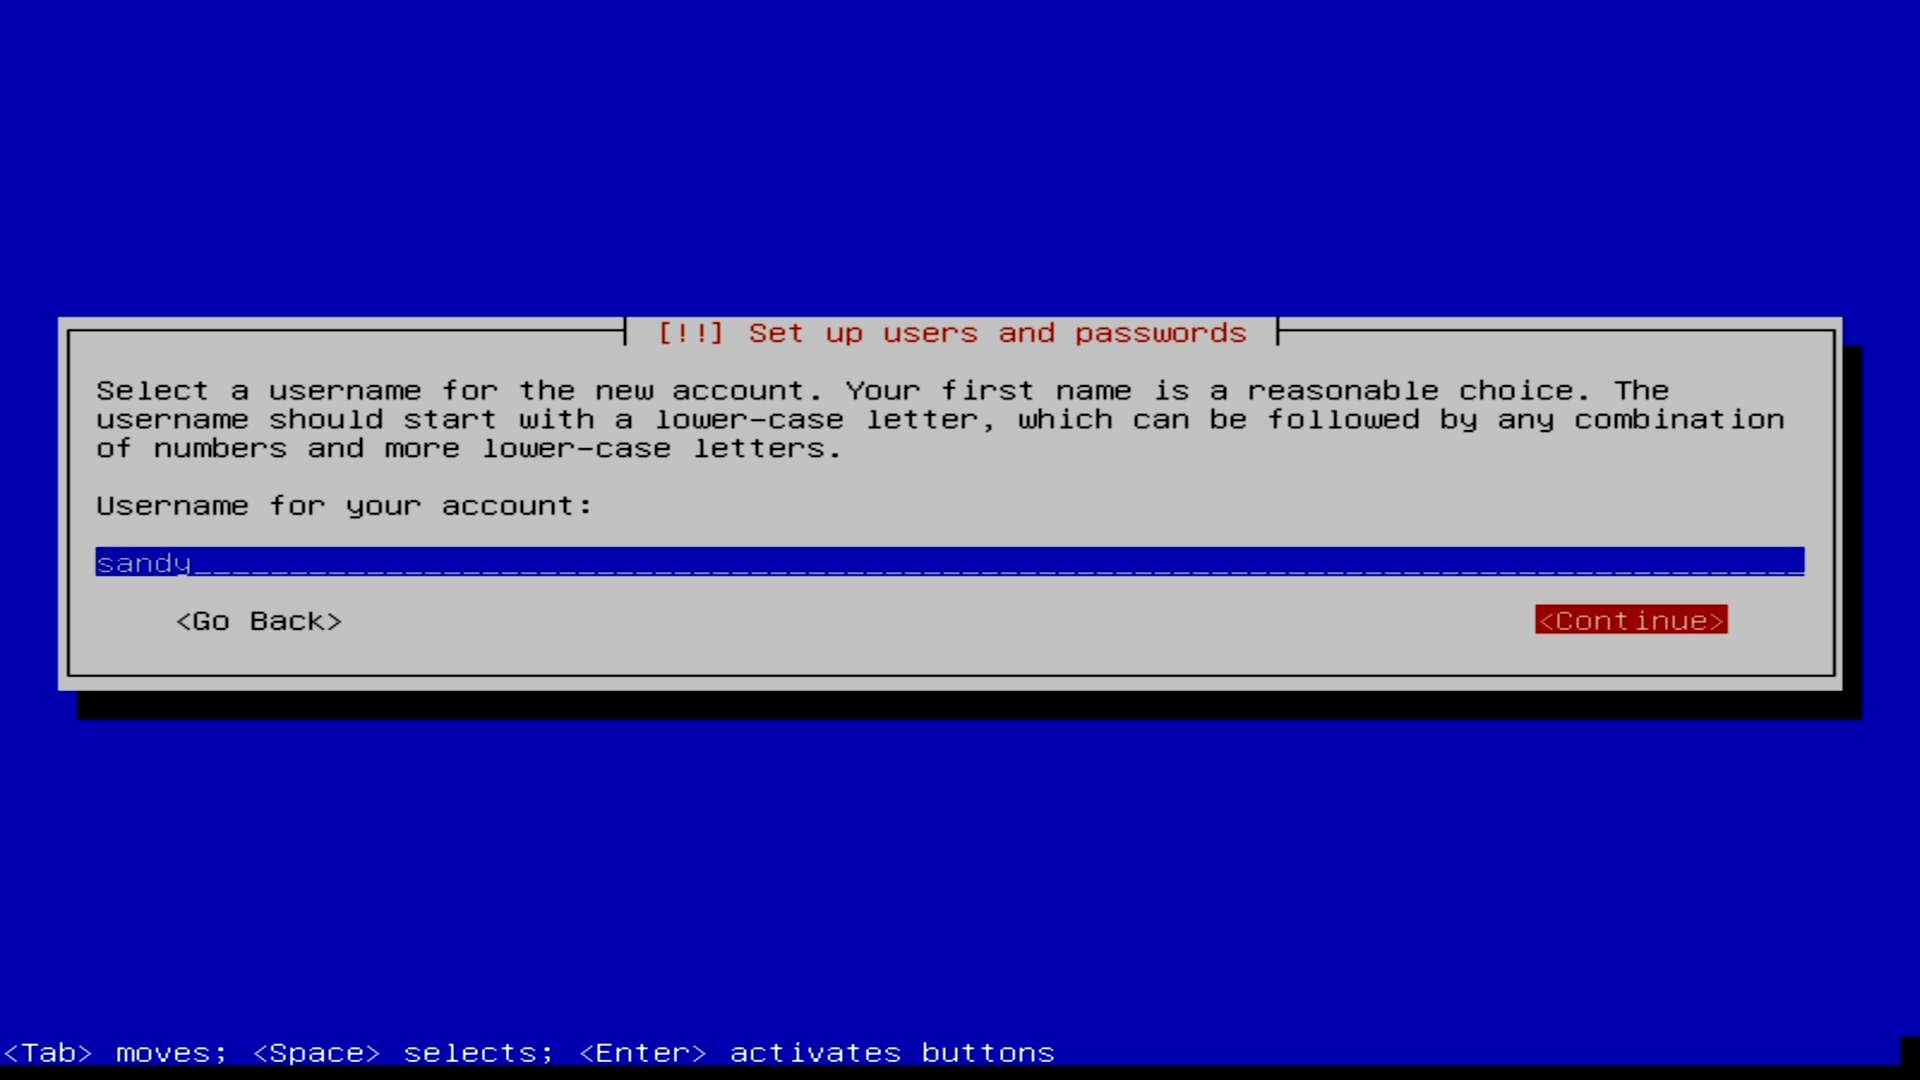
…your username… 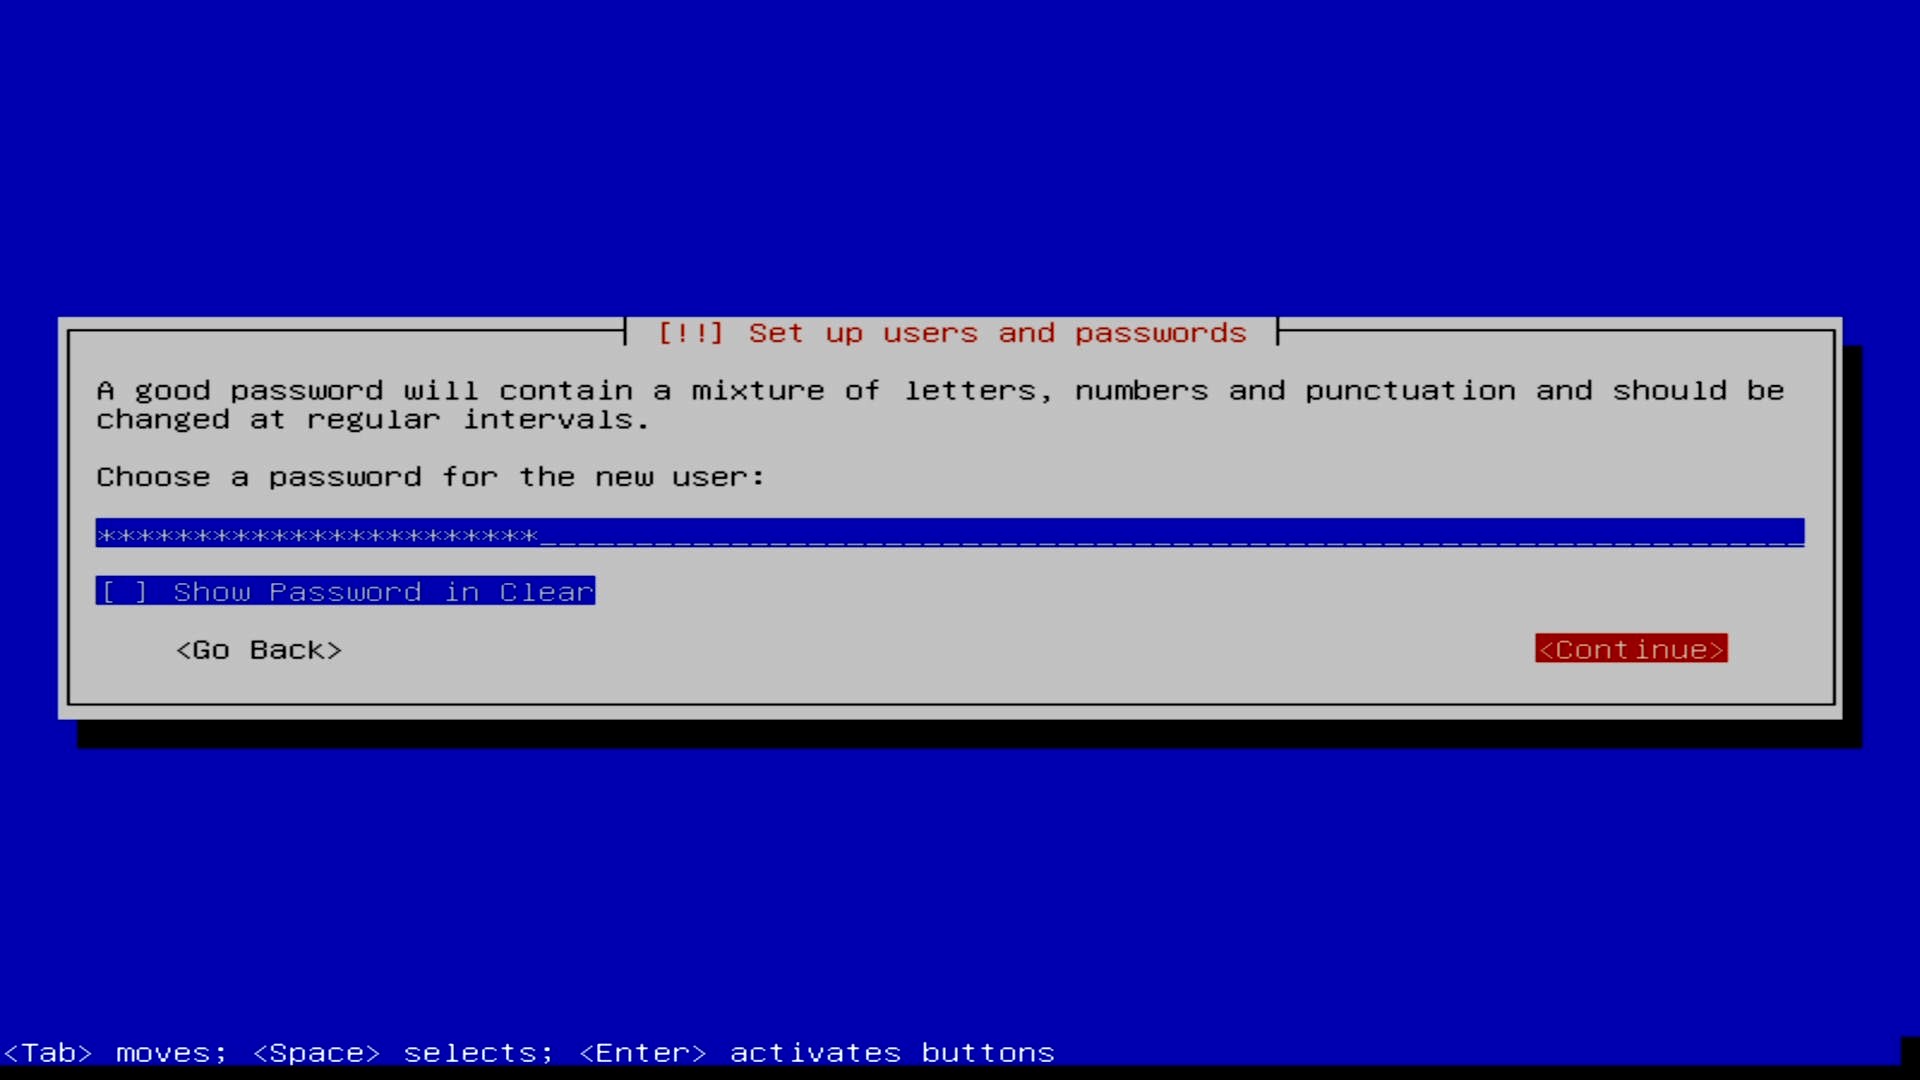
…and your password.
The next stage is imporant – creating the space on the disks where the system will be installed. If there’s nothing else you need to keep on your server’s drive, then I’d recommend choosing Guided – use the entire disk.

The next few images show the remainder of the partitioning. You can see that I have the USB stick (SCSI3, sdb), the eMMC that’s built into the UDOO (mmcblk0), and a SATA SSD (SCSI1 sda). I’m installing the OS onto the SATA SSD.

Choose partitioning method 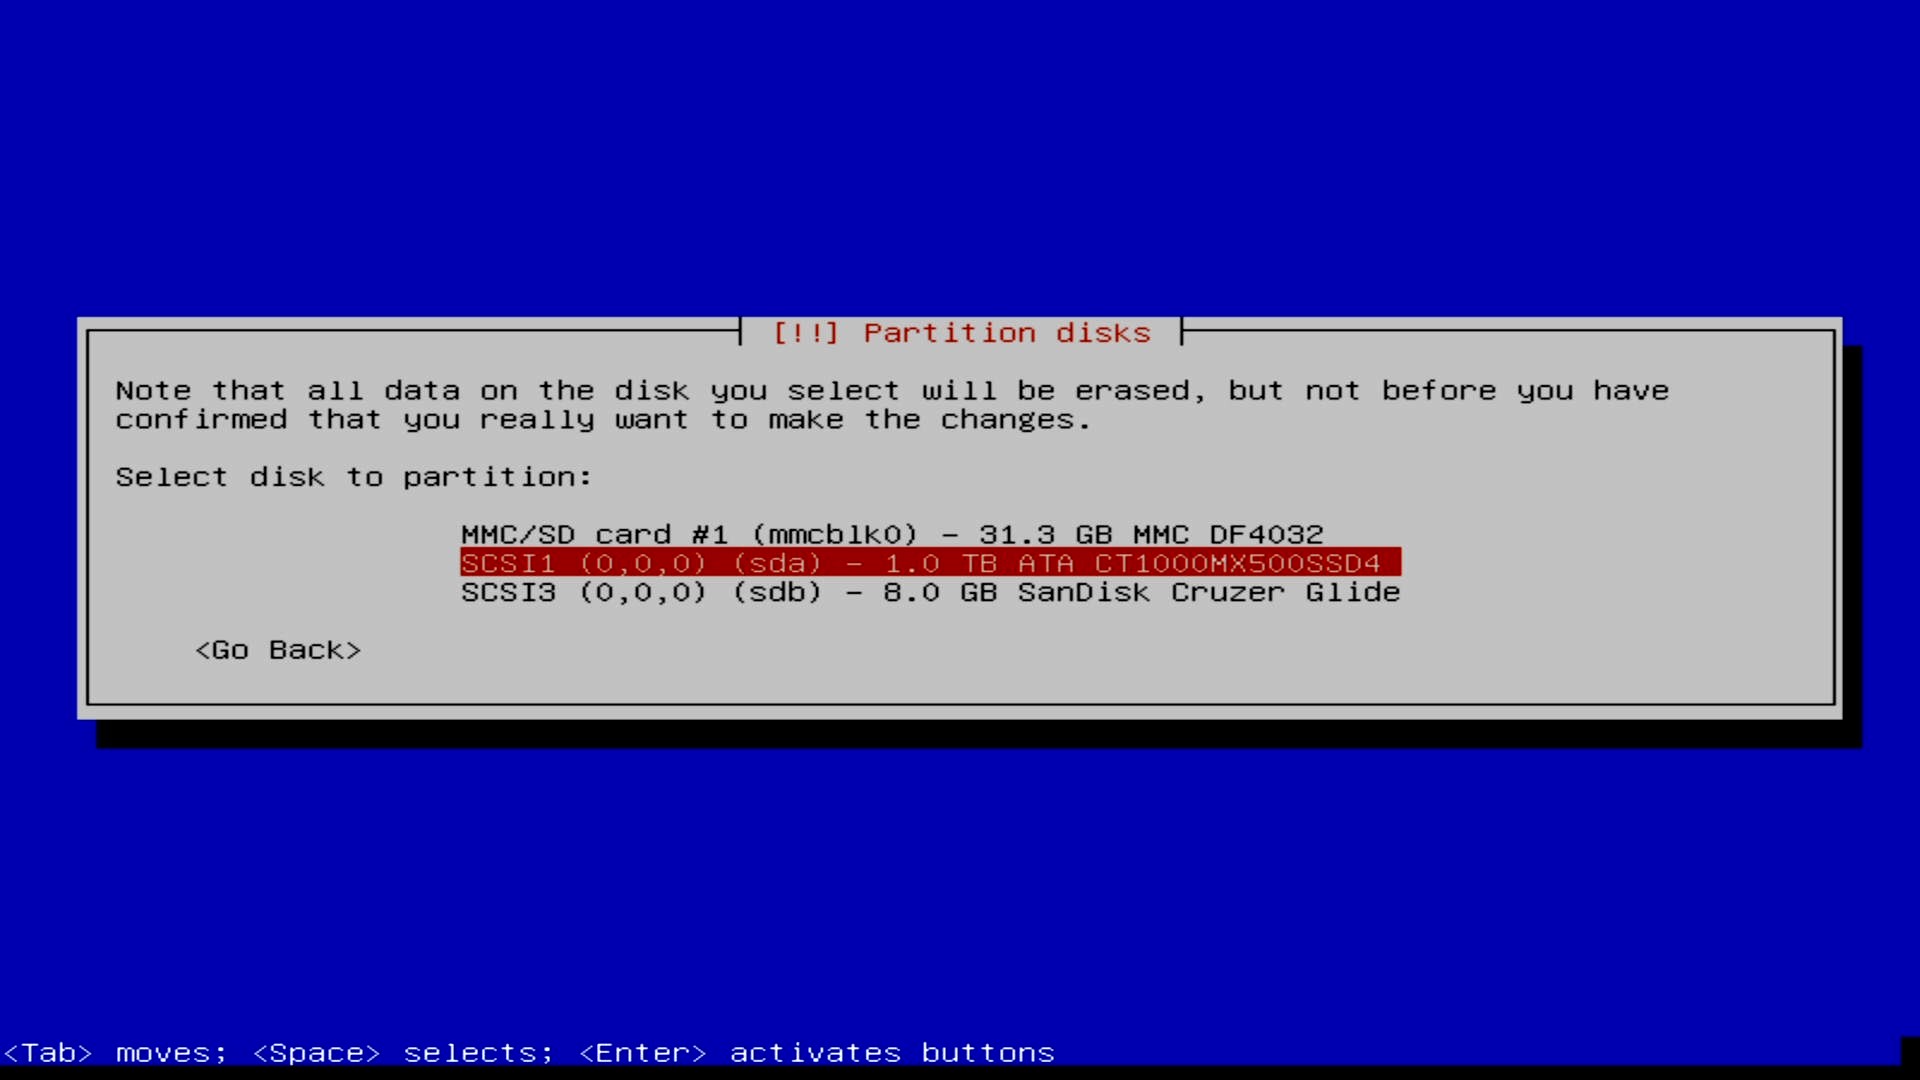
Choose drive 
Choose partitioning scheme 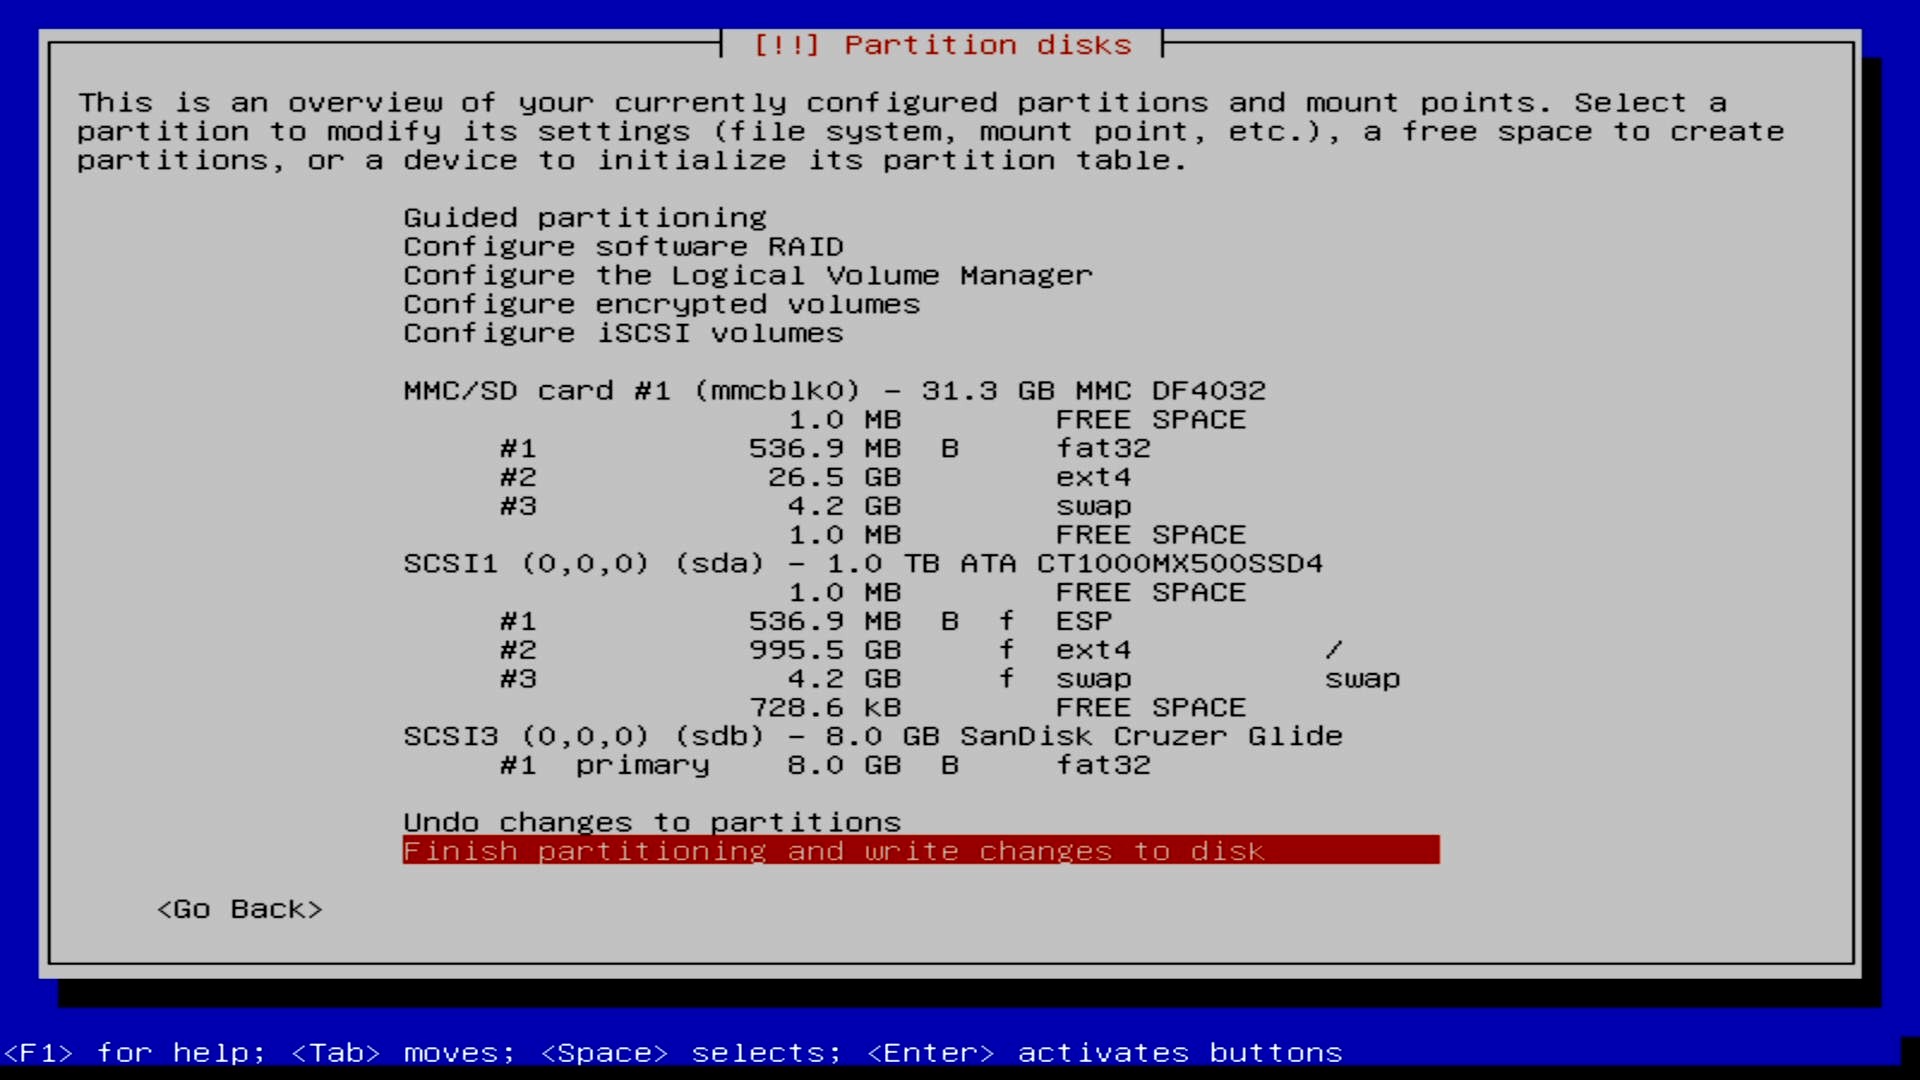
Summary of what you’ll get… 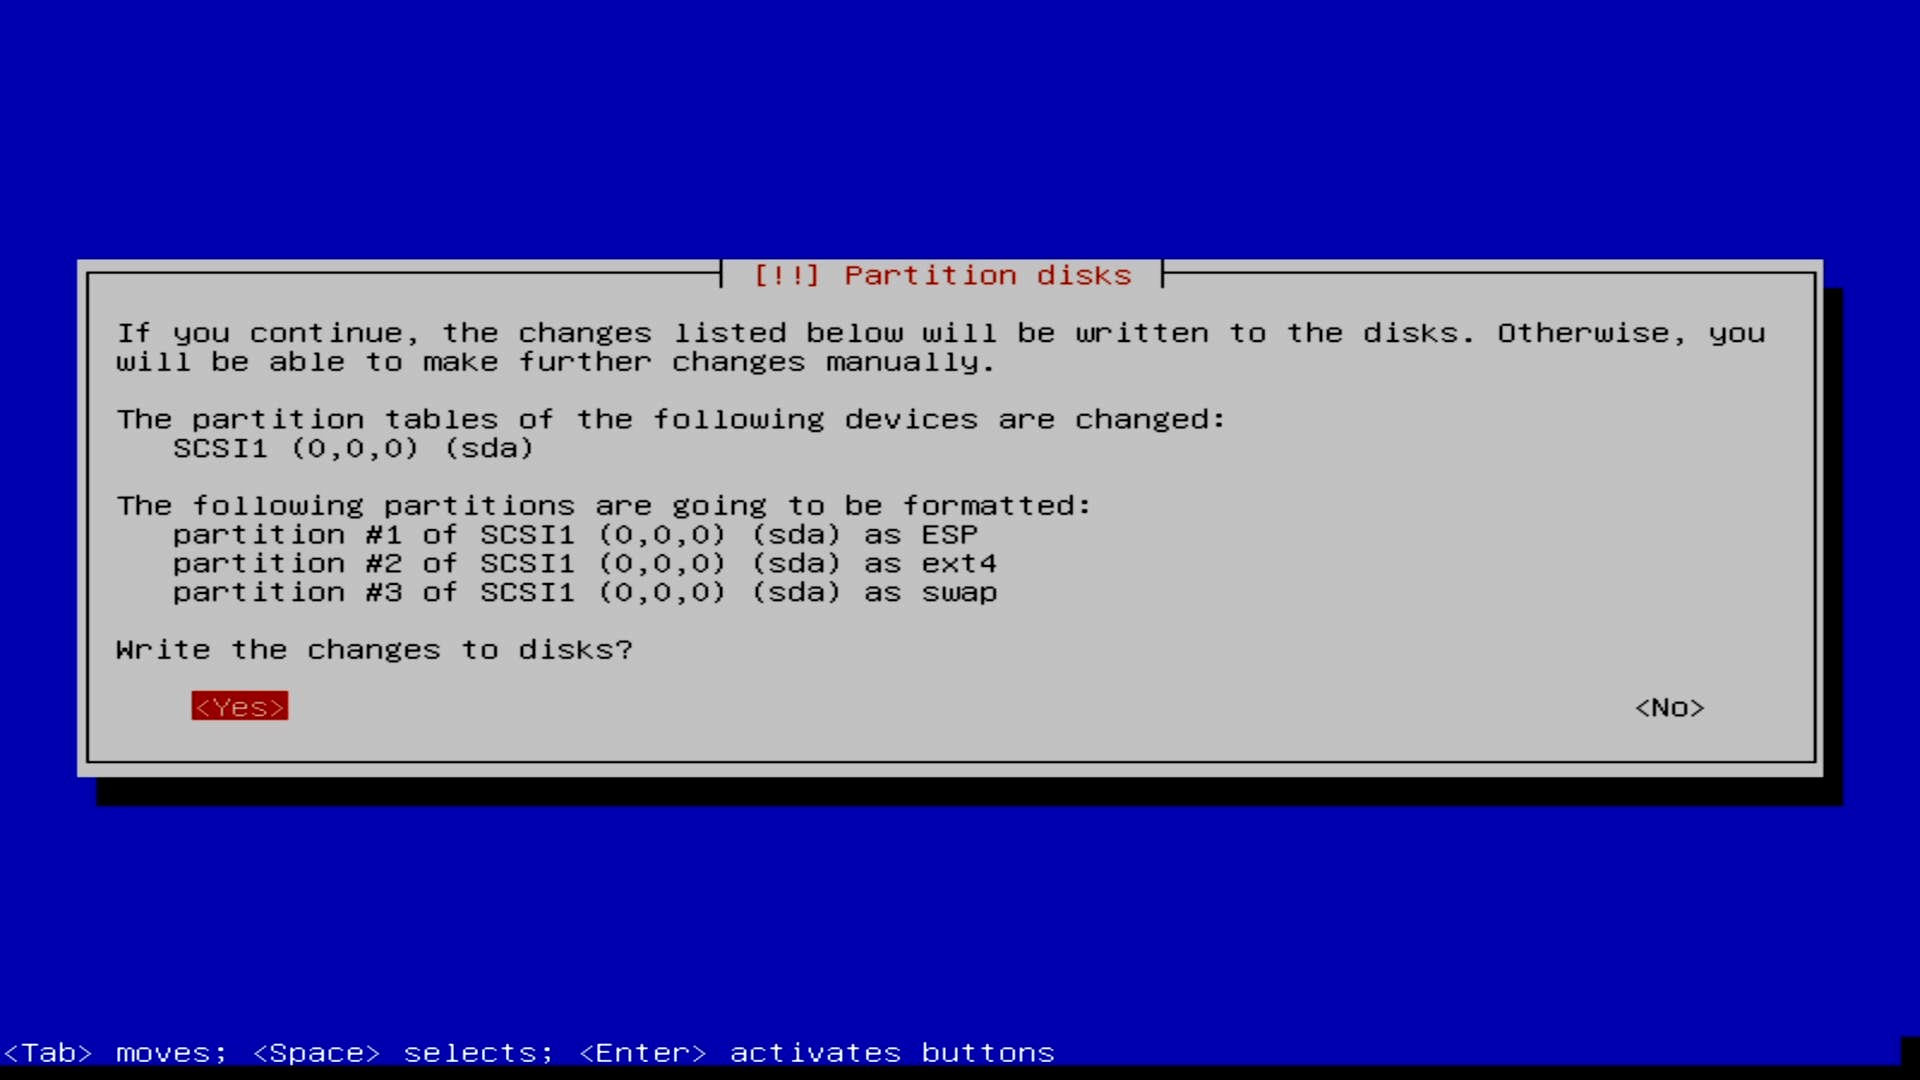
…and confirmation of what needs to change for that to happen.
At this point the system will start chuntering away – setting up the disks and installing the base system.
At this point you should connect your system to your network with a cable if you haven’t already.
The next few screens just set up a network mirror – this is good, just accept the defaults. Once that’s all done, you can choose if you want to help Debian by participating in the package usage survey.
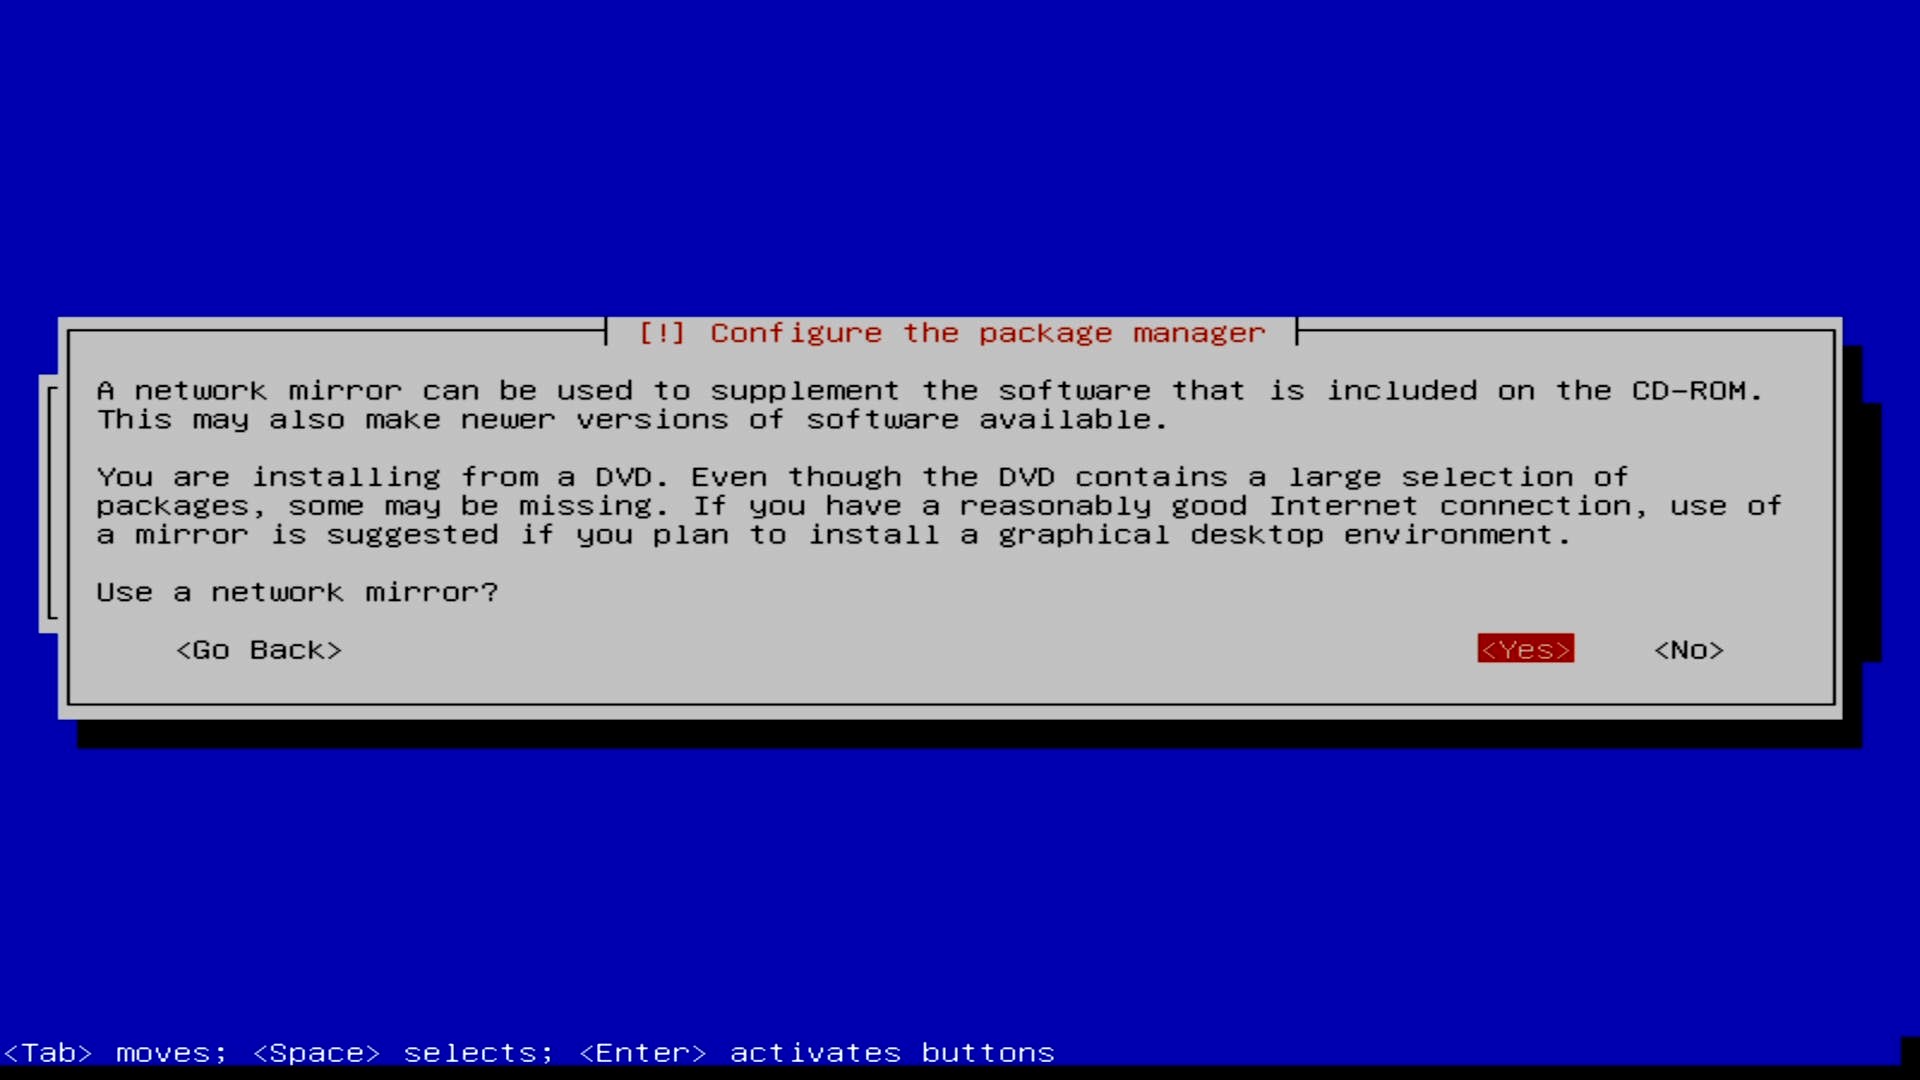
Yes, use a network mirror 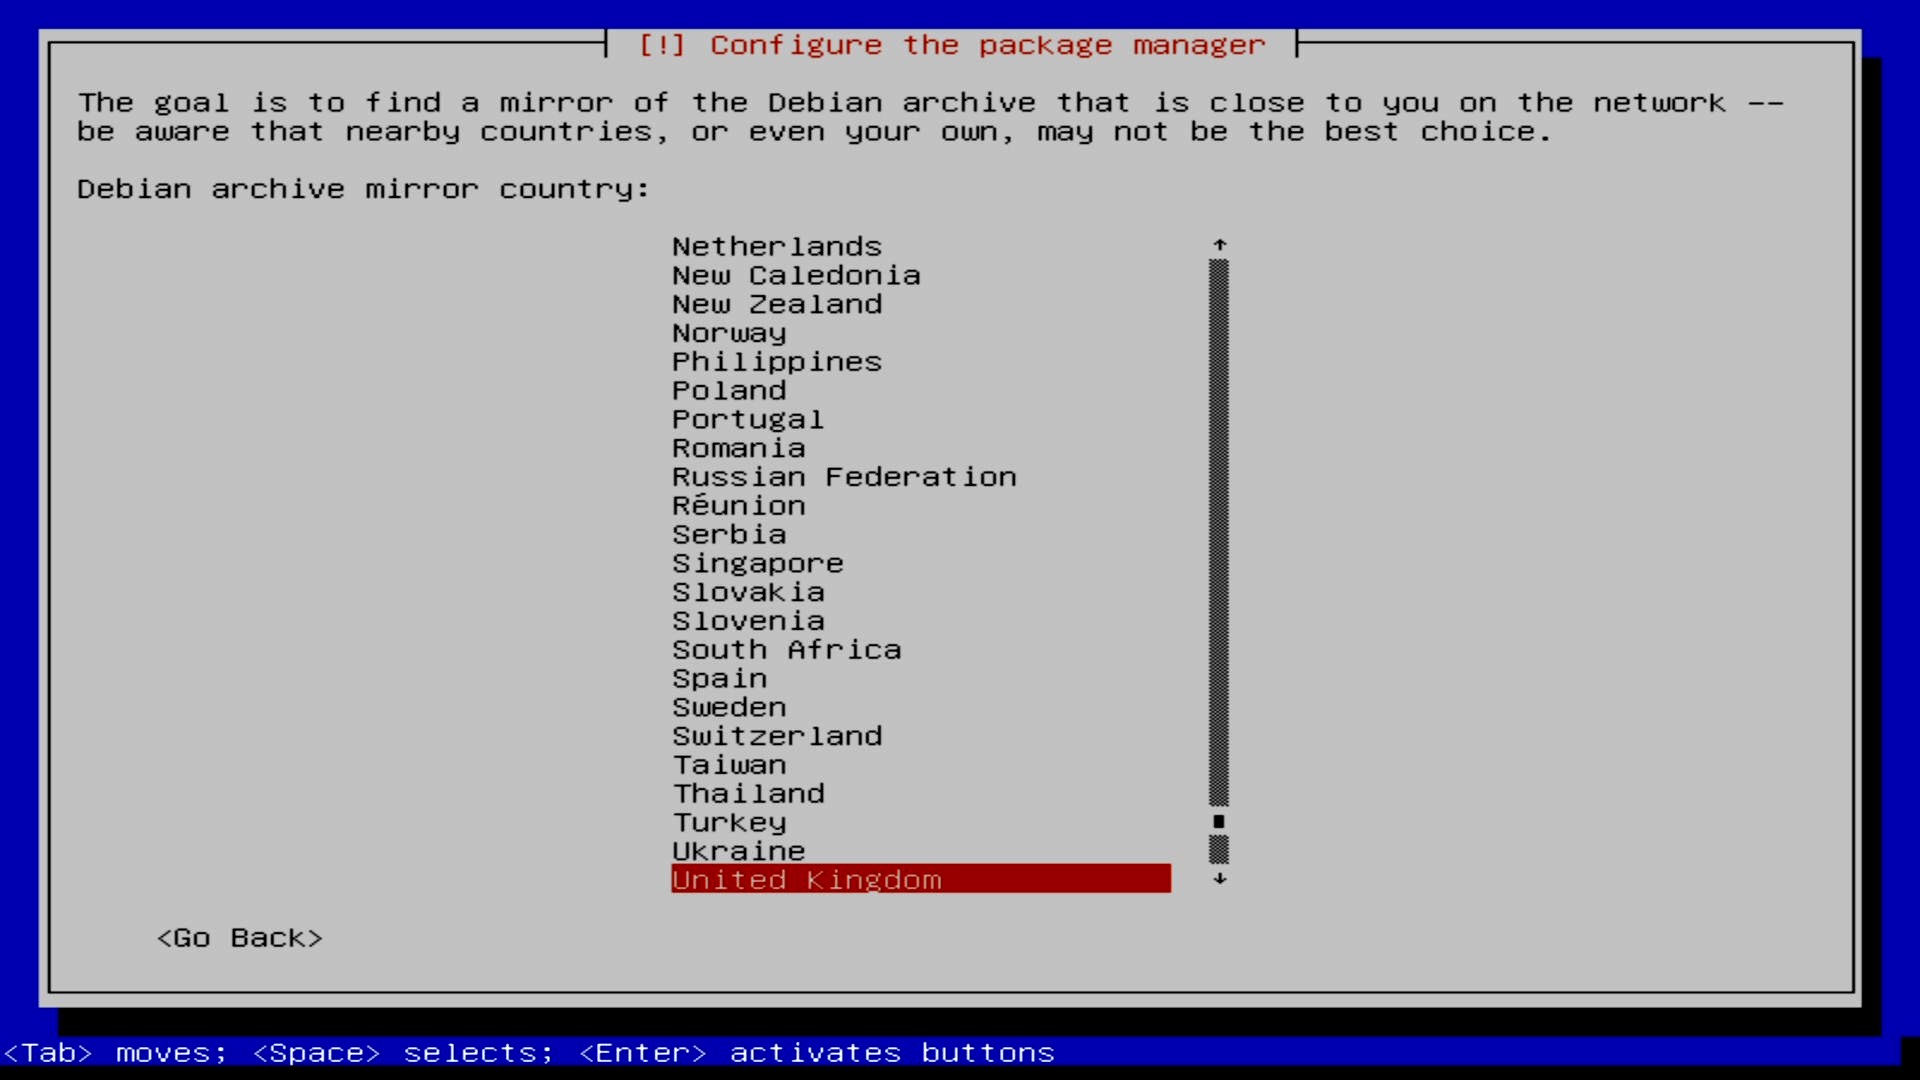
Confirm your physical location 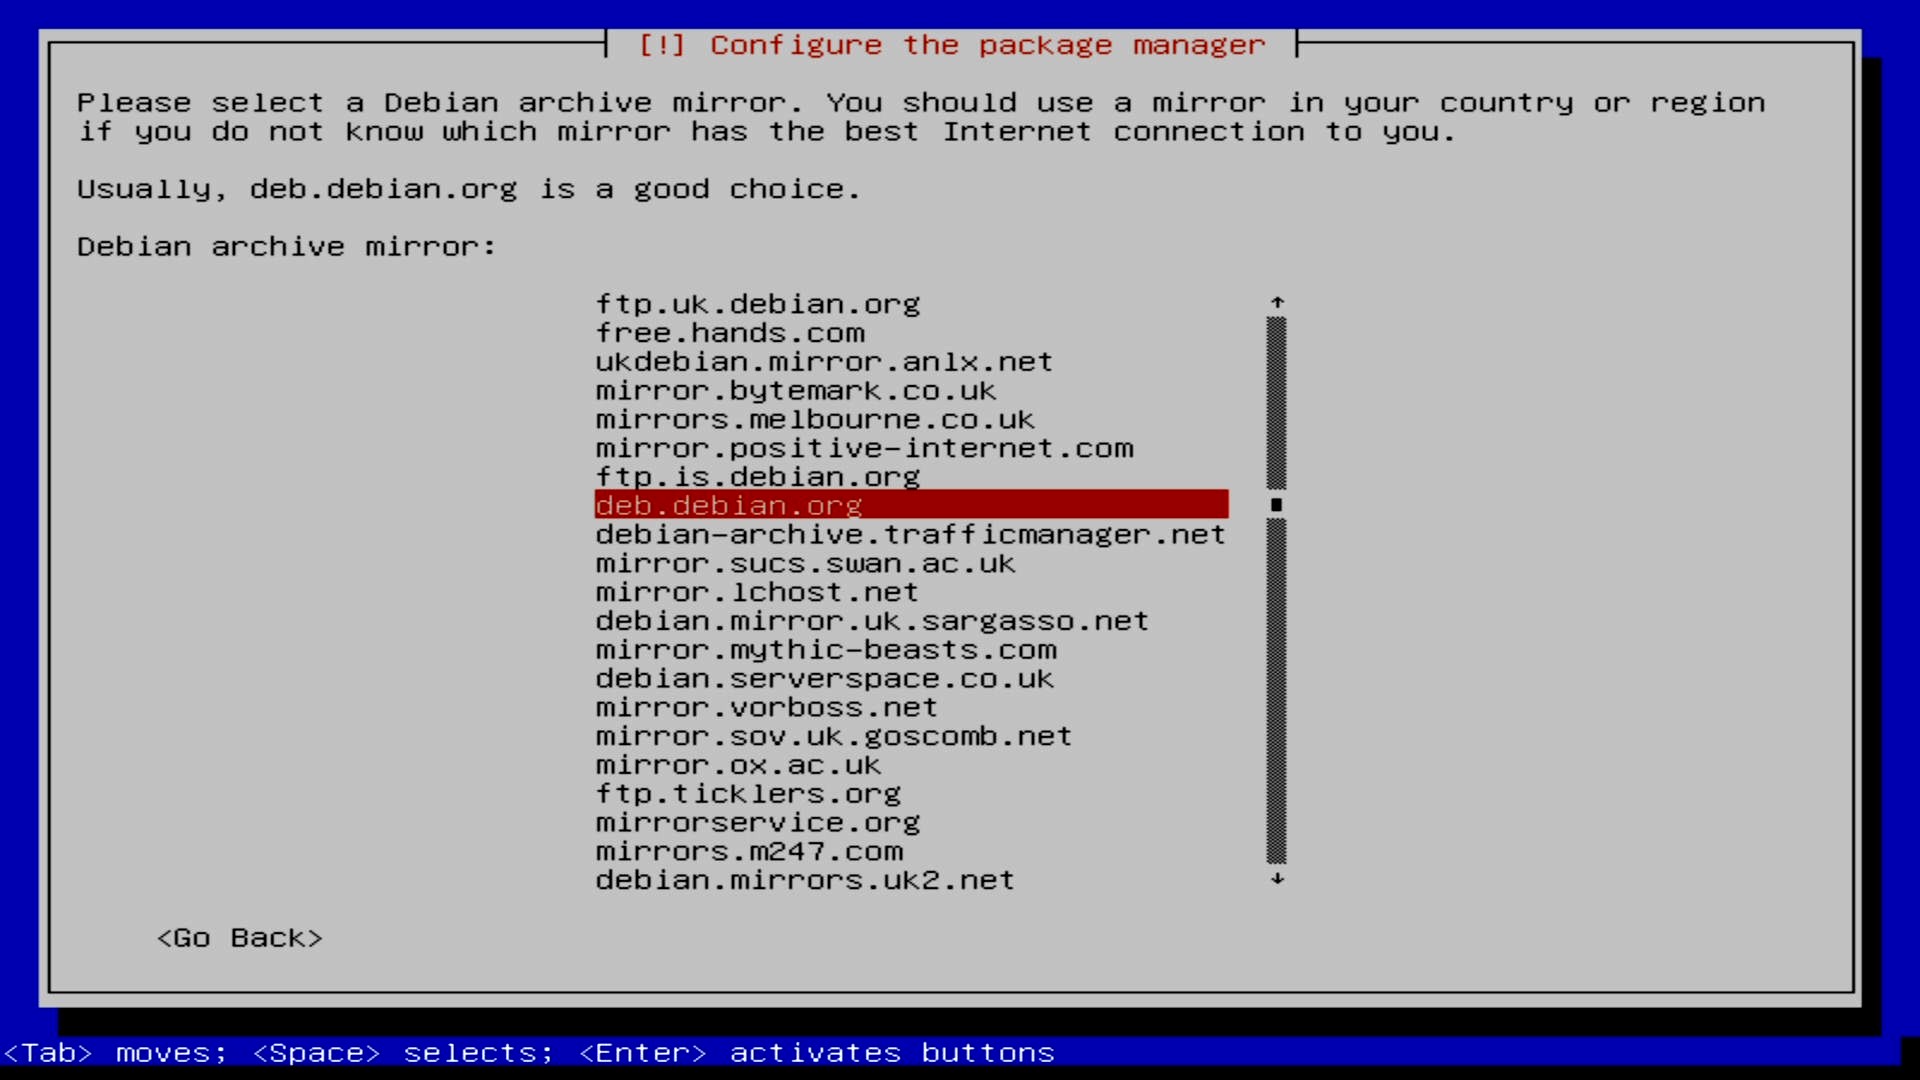
Pick a mirror 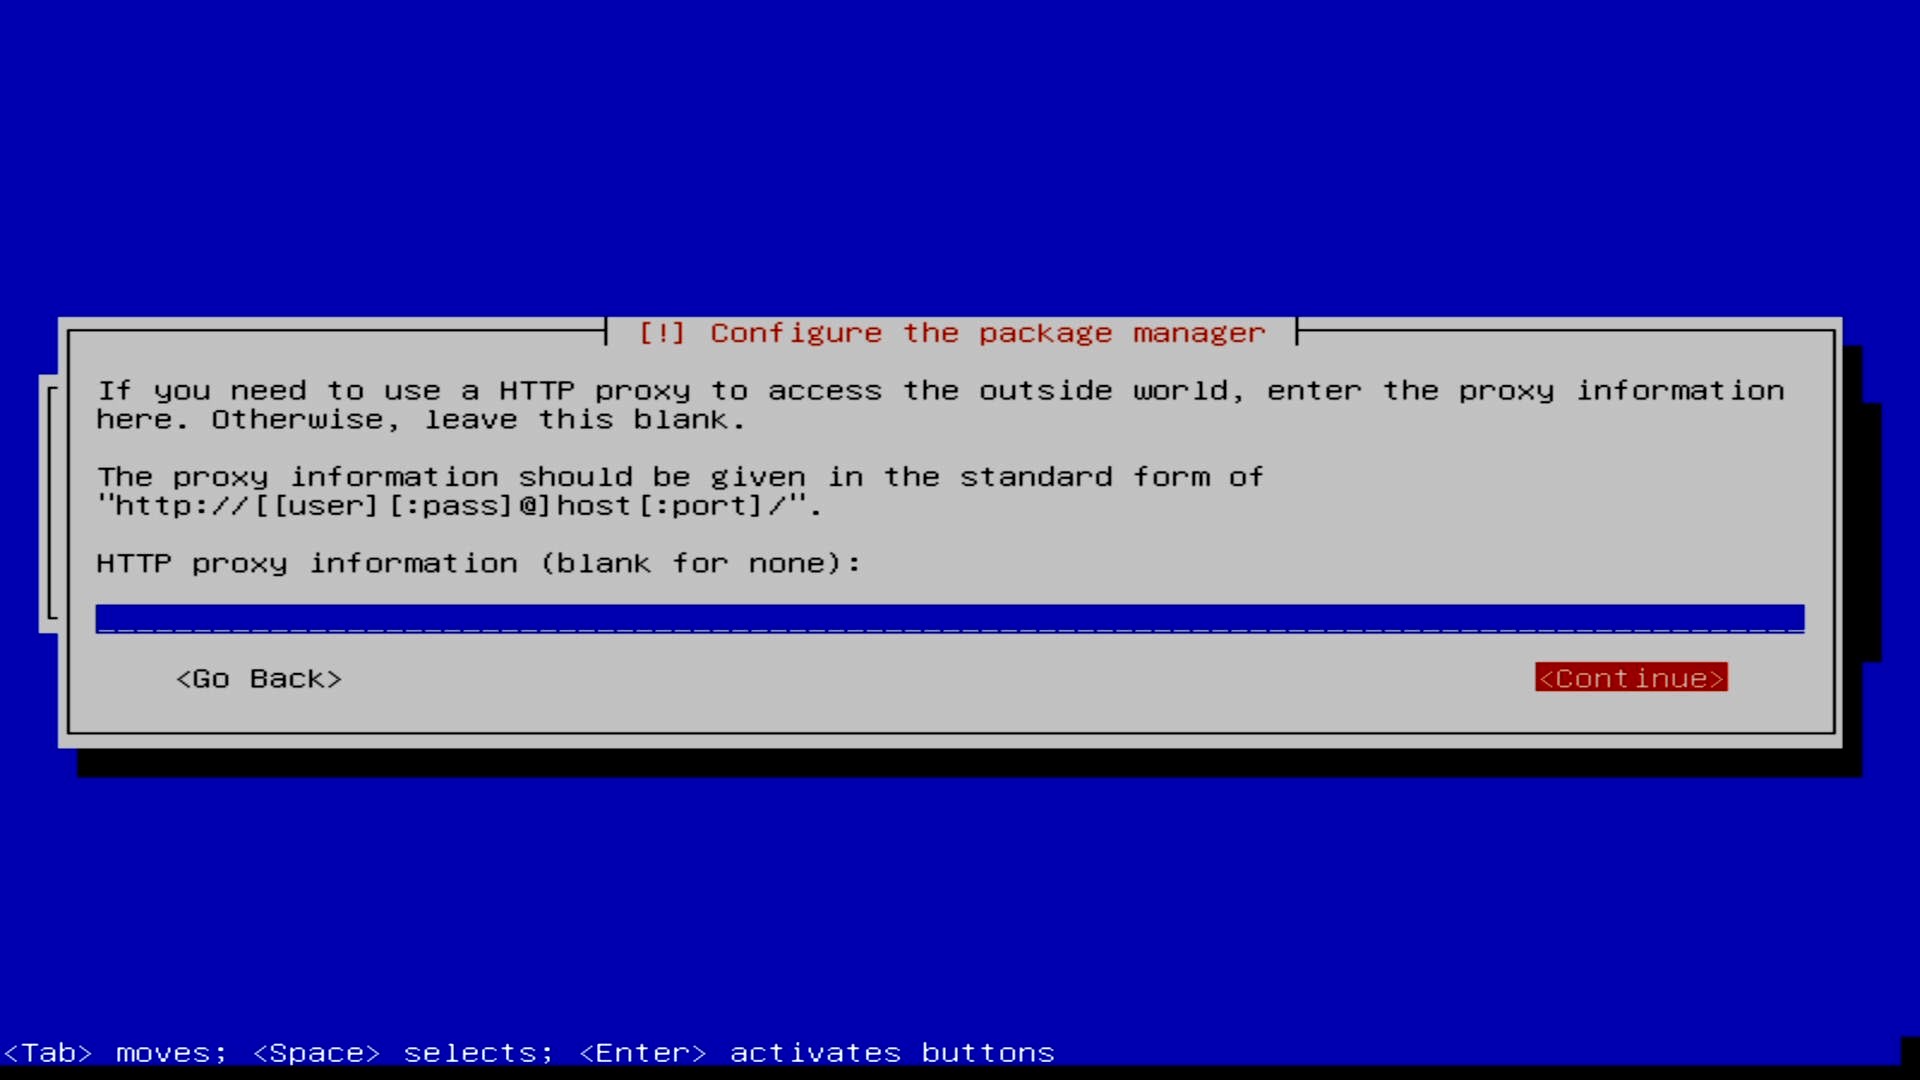
You’ll know if you need a proxy, otherwise leave this blank 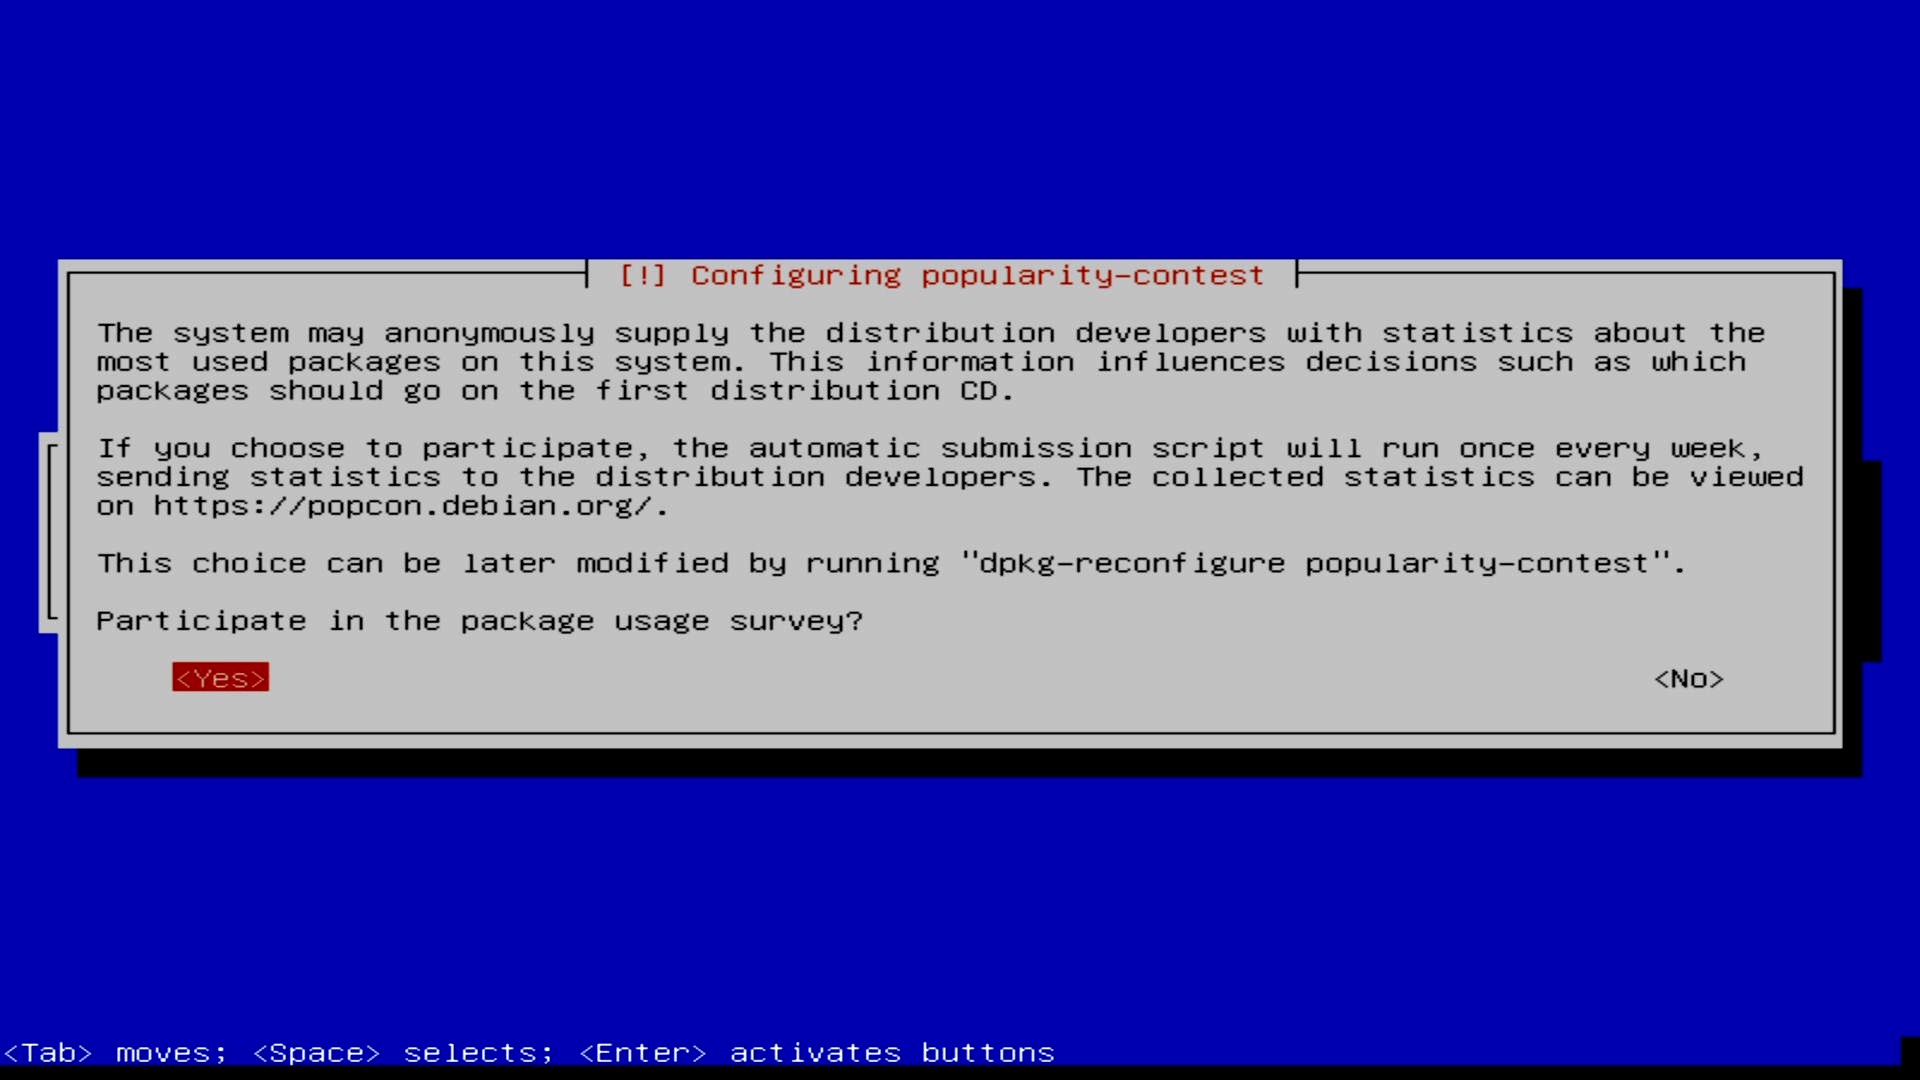
Choose if you want to participate
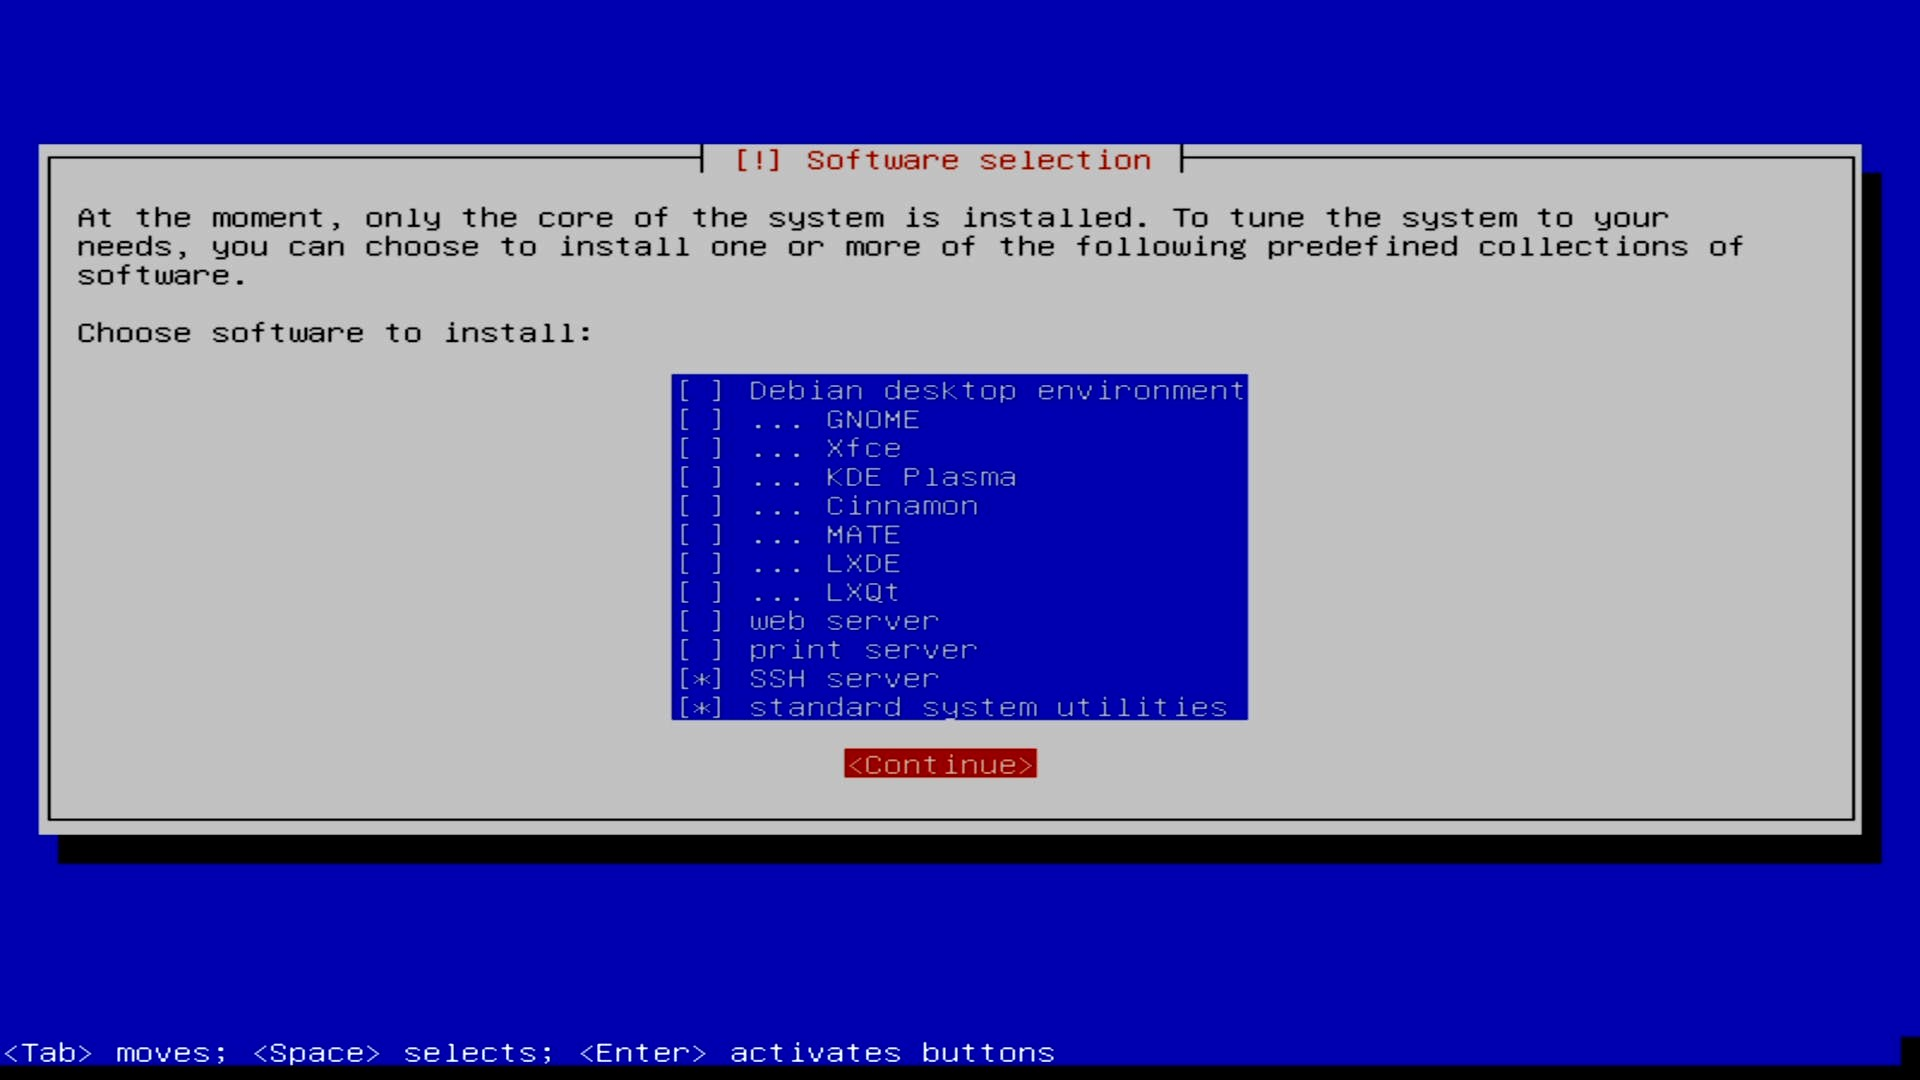
Here we’re customising the software to be installed. Although we have the option to install the web server here, we’ll keep it very basic for now and install the extra bits we need later. make sure only SSH server and standard system utilities are selected, then Continue.
Final bits of the install (click on the images to zoom in)
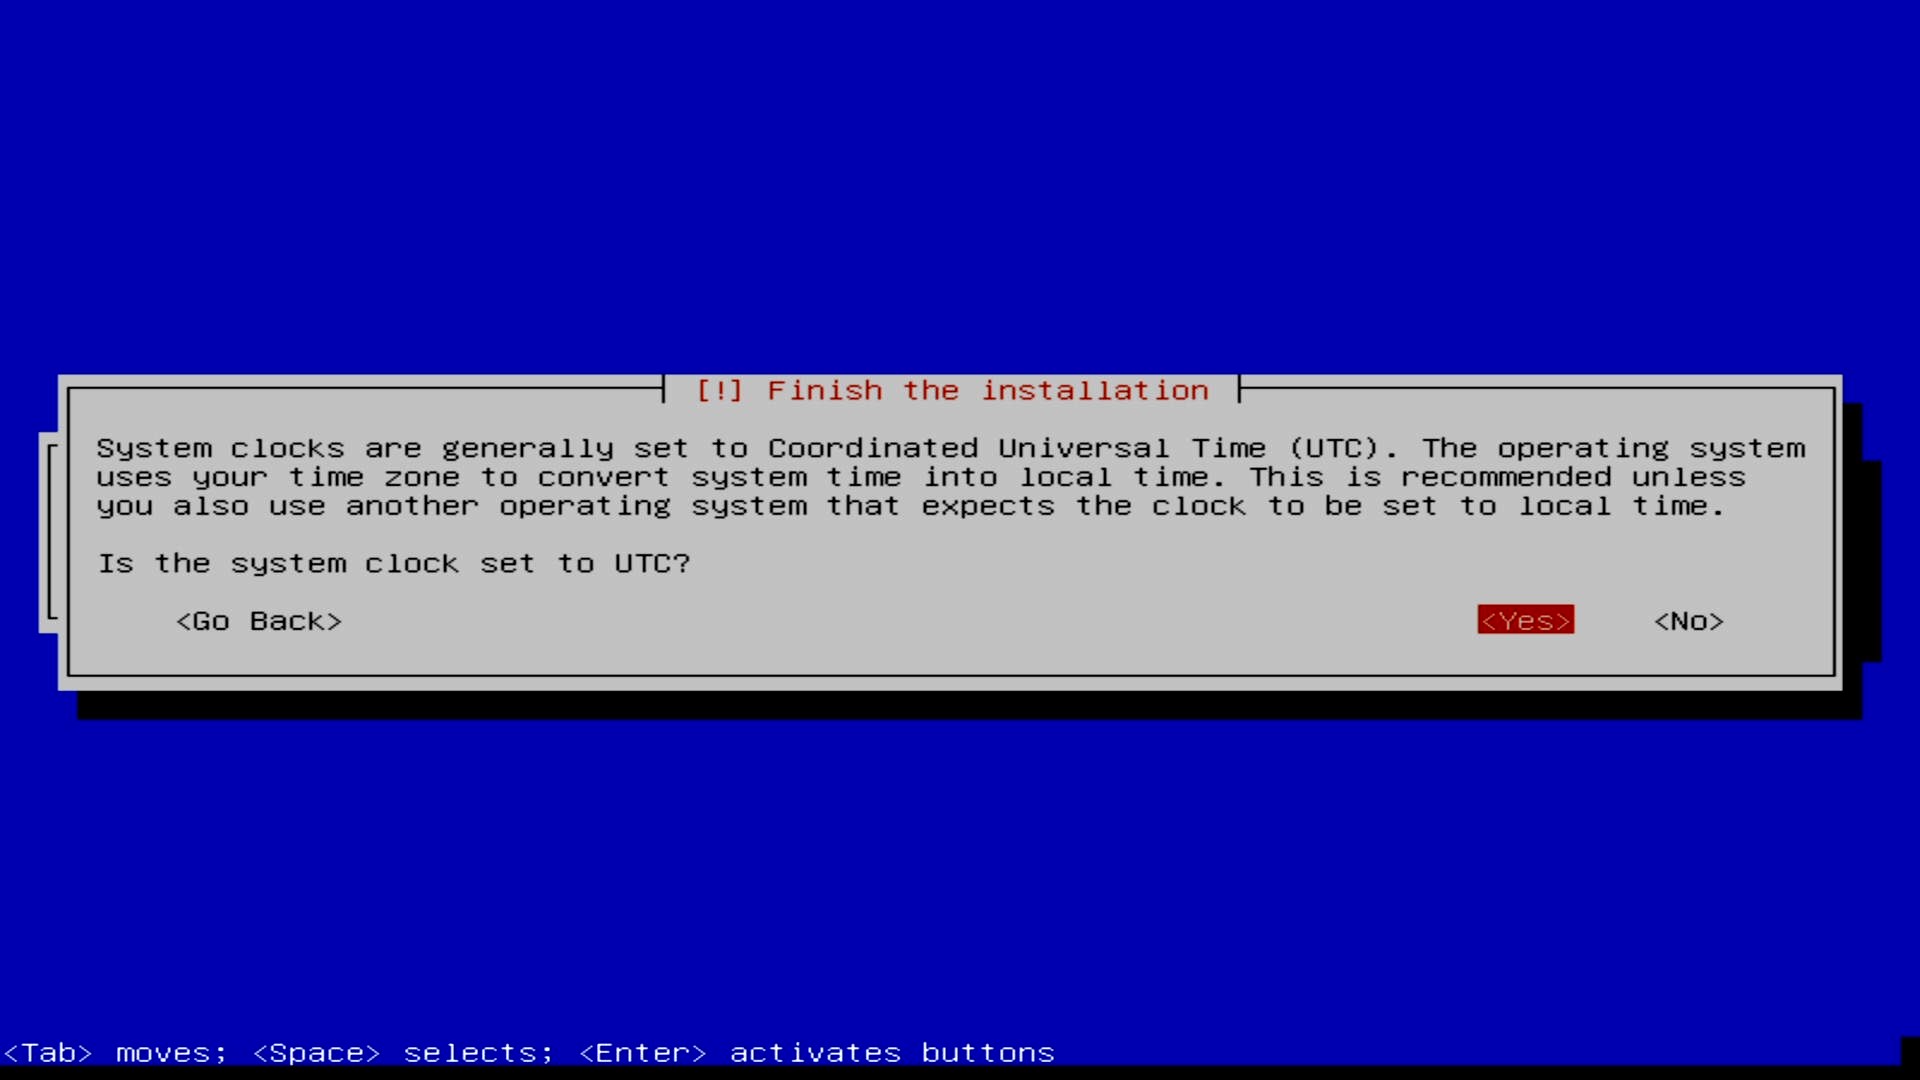
Yes, do set the system clock to UTC 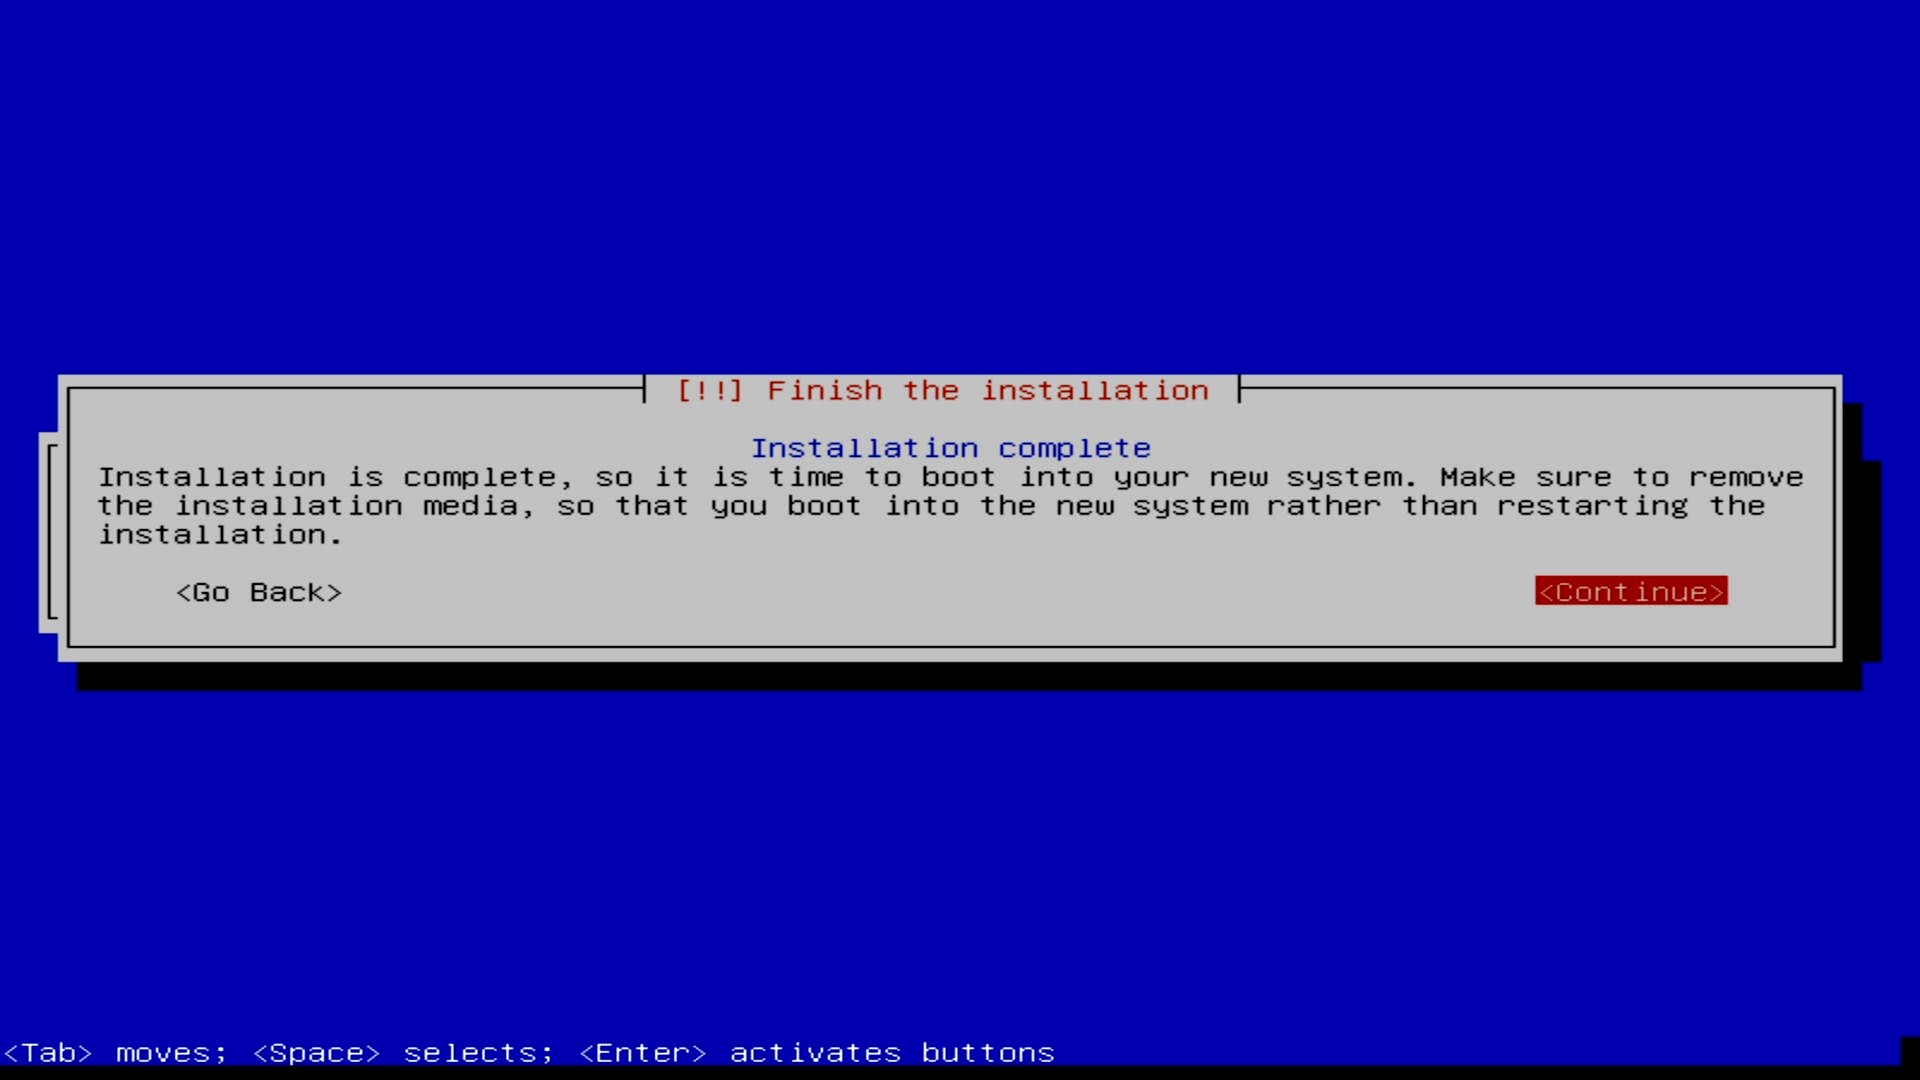
Pull out the USB stick 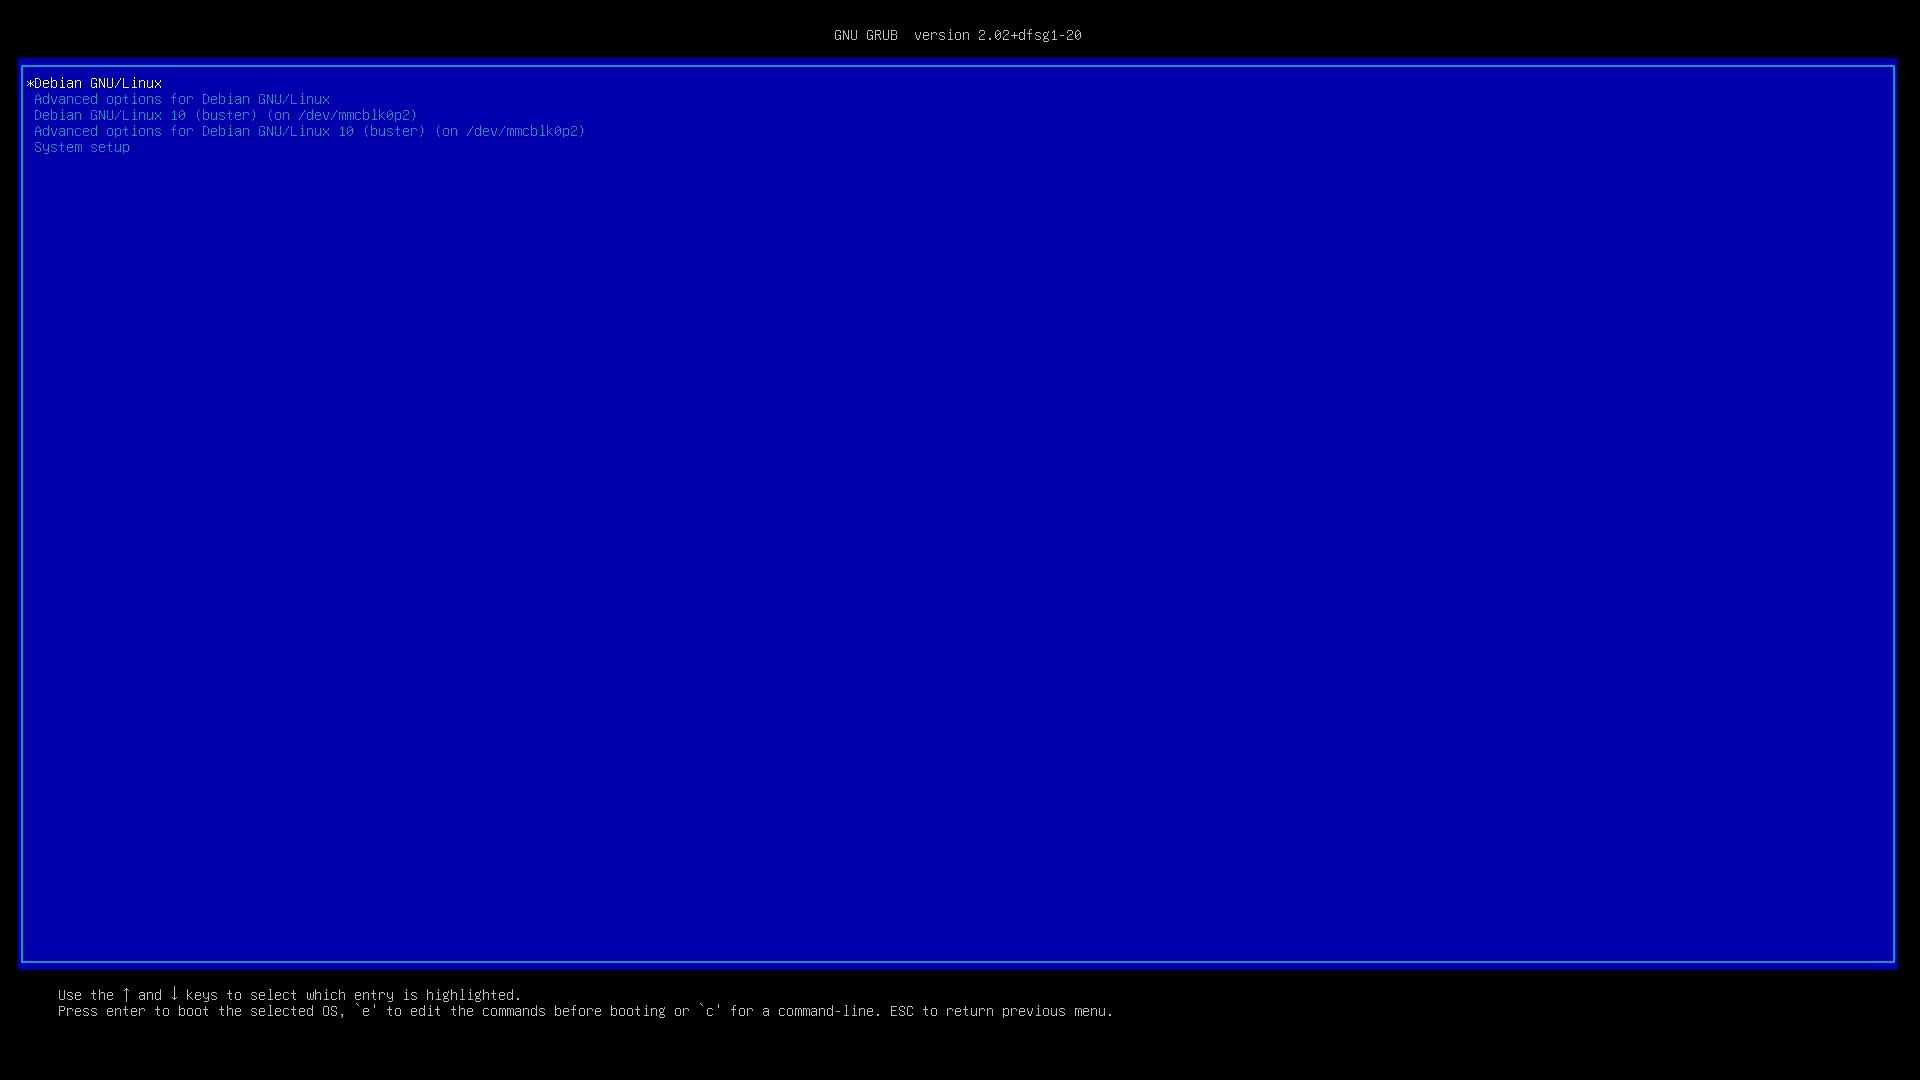
After rebooting, this screen should appear for a few seconds. It might look a little different, but the top line should be the same. 
Sucessfully booted! 
Check you can log in locally: Enter your username, hit enter, then type your password and hit enter. Success!